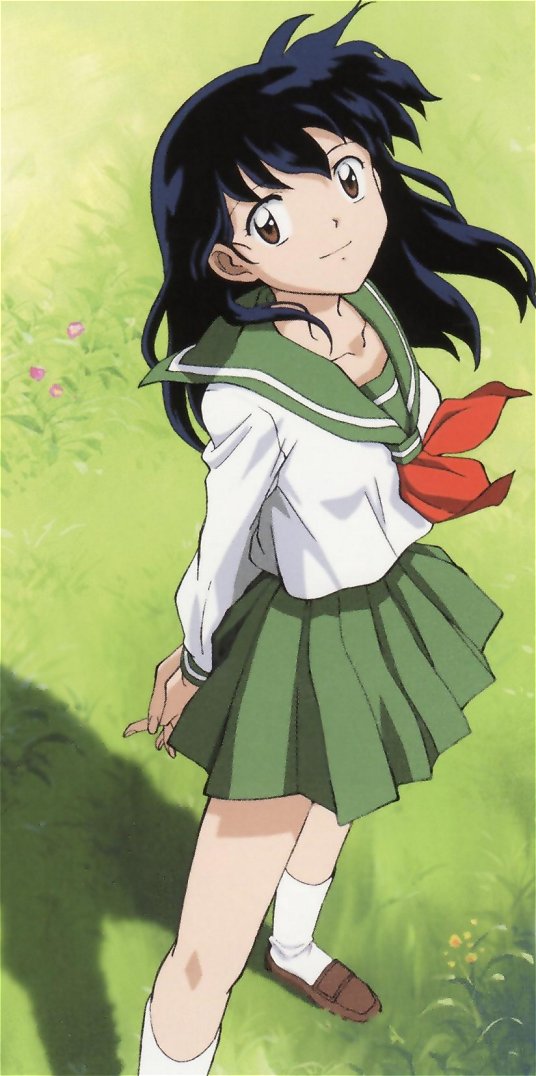
Kagome Higurashi - Inuyasha

Cost: $125
Time to Make: 40 hours
Timeline of Construction: June - October 2017
Pictures


Information
I had spent several weeks working on my Madoka Kaname school uniform back in the winter and I had found the experience to be both enlightening and difficult. One of the things that I felt was very daunting was working on the box pleated skirt. I dreaded it because I figured it would be quite hard. When I finally did start working on the box pleated skirt, I was actually surprised by how quickly I was able to finish it. Although many elements of Madoka's uniform were very detailed, the essence of a Japanese Anime girls school uniform is fairly simplistic. As I was finishing up my Madoka costume, it got me thinking that maybe I should work on another uniform next as something that shouldn't be too difficult and would sharpen my sewing skills a bit.
I started pondering the idea and my mind travelled back to Kagome from Inuyasha. Inuyasha is still a series that I look back on fondly even though I haven't watched an episode in over a decade. In fact I never did finish watching the series. I actually started following Inuyasha when it was first airing in Japan and if you look at my completed costume list, Kagome is already on there. It was my second ever costume that my mother helped me make back in 2002. The costume was 90% made by my mother. We had purchased a cheap white shirt that we just added cuffs and a collar to and the green material was thin broadcloth. It wasn't a bad costume for the time, but it wasn't particularly polished. This was also a time before wigs were widely available and the wigs that you did find were party wigs and were poor quality. It was pretty much the dark ages of Cosplay. Before YouTube tutorials, mass produced character specific patterns... I've learned a lot in terms of sewing since then. Now I do all my own sewing and I'm very particular about quality and emulating details. I thought what better way to show how far I've come then to remake one of my earliest costumes with the Cosplay standards of today.
After finishing up Madoka in March, I decided to take a break from sewing for a while. When Anime North was over, I felt inspired to get sewing again so I decided to go on a fabric shopping trip with Pan in June. We picked up material for our Wacky Wavy Inflatable Tube Men costumes and I found some beautiful cotton blend material for Kagome. It had a nice weight to it so I hoped it would hold pleats well and that the white would be opaque. I didn't start Kagome right away although I did ask my mother to help me thread perfect the fabric. I began working on the skirt in early July. I made a completed version of it over just a weekend but I realized after I had finished it that the waistband was a bit too tight so I had to scrap the waistband. I also wasn't sure if I liked the pleat depth so I decided to wait until I finished the blouse to decide the size of the pleats that might be complimentary before starting the skirt over again.
I searched for a while for a pattern for the blouse. Originally I was planning to borrow Pan's pattern for her Amy school uniform blouse from Sailor Moon. We're a similar size and the proportions of that blouse are close to Kagome's. I did borrow it but when I tried on a mock she had made, I found it was too tight. I needed to re-pattern parts of it so I decided to scrap the idea and look through the patterns I owned instead. I found a few options most of which required fabrics with a stretch so I had to abandon them. In the end I found the pattern that I had bought several years ago that I had used for the blouse of my Halloween Witch Rei costume, Butterick pattern 5948. The pattern was for relaxed fitting long sleeve shirts and tank tops. I had used the tank top pattern before but I had never tested out the fit of a long sleeve blouse. I was a bit worried because I'm quite petite so I ran the risk of a loose fitting shirt being extremely loose on me. In August I decided to first make a test version of the blouse to see how it would fit. It seemed to work ok as a mock, but I used fabric that wasn't extremely similar to the fabric I would be using so it was still a bit up in the air how it would look when I made the blouse for real.
I finished up my mock of the blouse just before Fan Expo. I was working on Kagome as a summer sewing project because I thought a familiar and simple costume would be an easy side project to work on as I dealt with issues within my family. My mother had been sick for several months and as the summer progressed, her condition worsened. She was being monitored at home, needed constant care and someone to be on hand at all times to help her. She would stabilize for a time and then suddenly worsen. I had thought that she might have levelled off or had been even slightly improving during Fan Expo weekend, but it was false hope. Just a week into September she reached the end stages in her battle with heart failure and a lifelong heart defect and she sadly passed away on September 10th. My mom's passing put a huge damper on my enthusiasm and interest in hobbies and social activites. I took about 3 weeks away from sewing and many other activities to grieve. There was so much to do in the first few weeks. Sewing was a hobby and interest that I shared with my mom. I didn't take sewing classes as everything I learned started with a foundation taught to me by my mother. Sewing was a sore spot for me when my mother first passed because it reminded me so much of her. In a way it's comforting, but in many other ways it will always be an open wound. My first decade of costuming depended so much on my mother's help and I sort of feel that working on a new version of a costume that was originally mostly made by my mom was almost a touching homage. I didn't know exactly when I had started the costume that things would turn out this way and that my mom was so close to the end, but it does feel now that my new Kagome costume was really me carrying on the torch with sewing and costuming. It's really a legacy that she has left me.
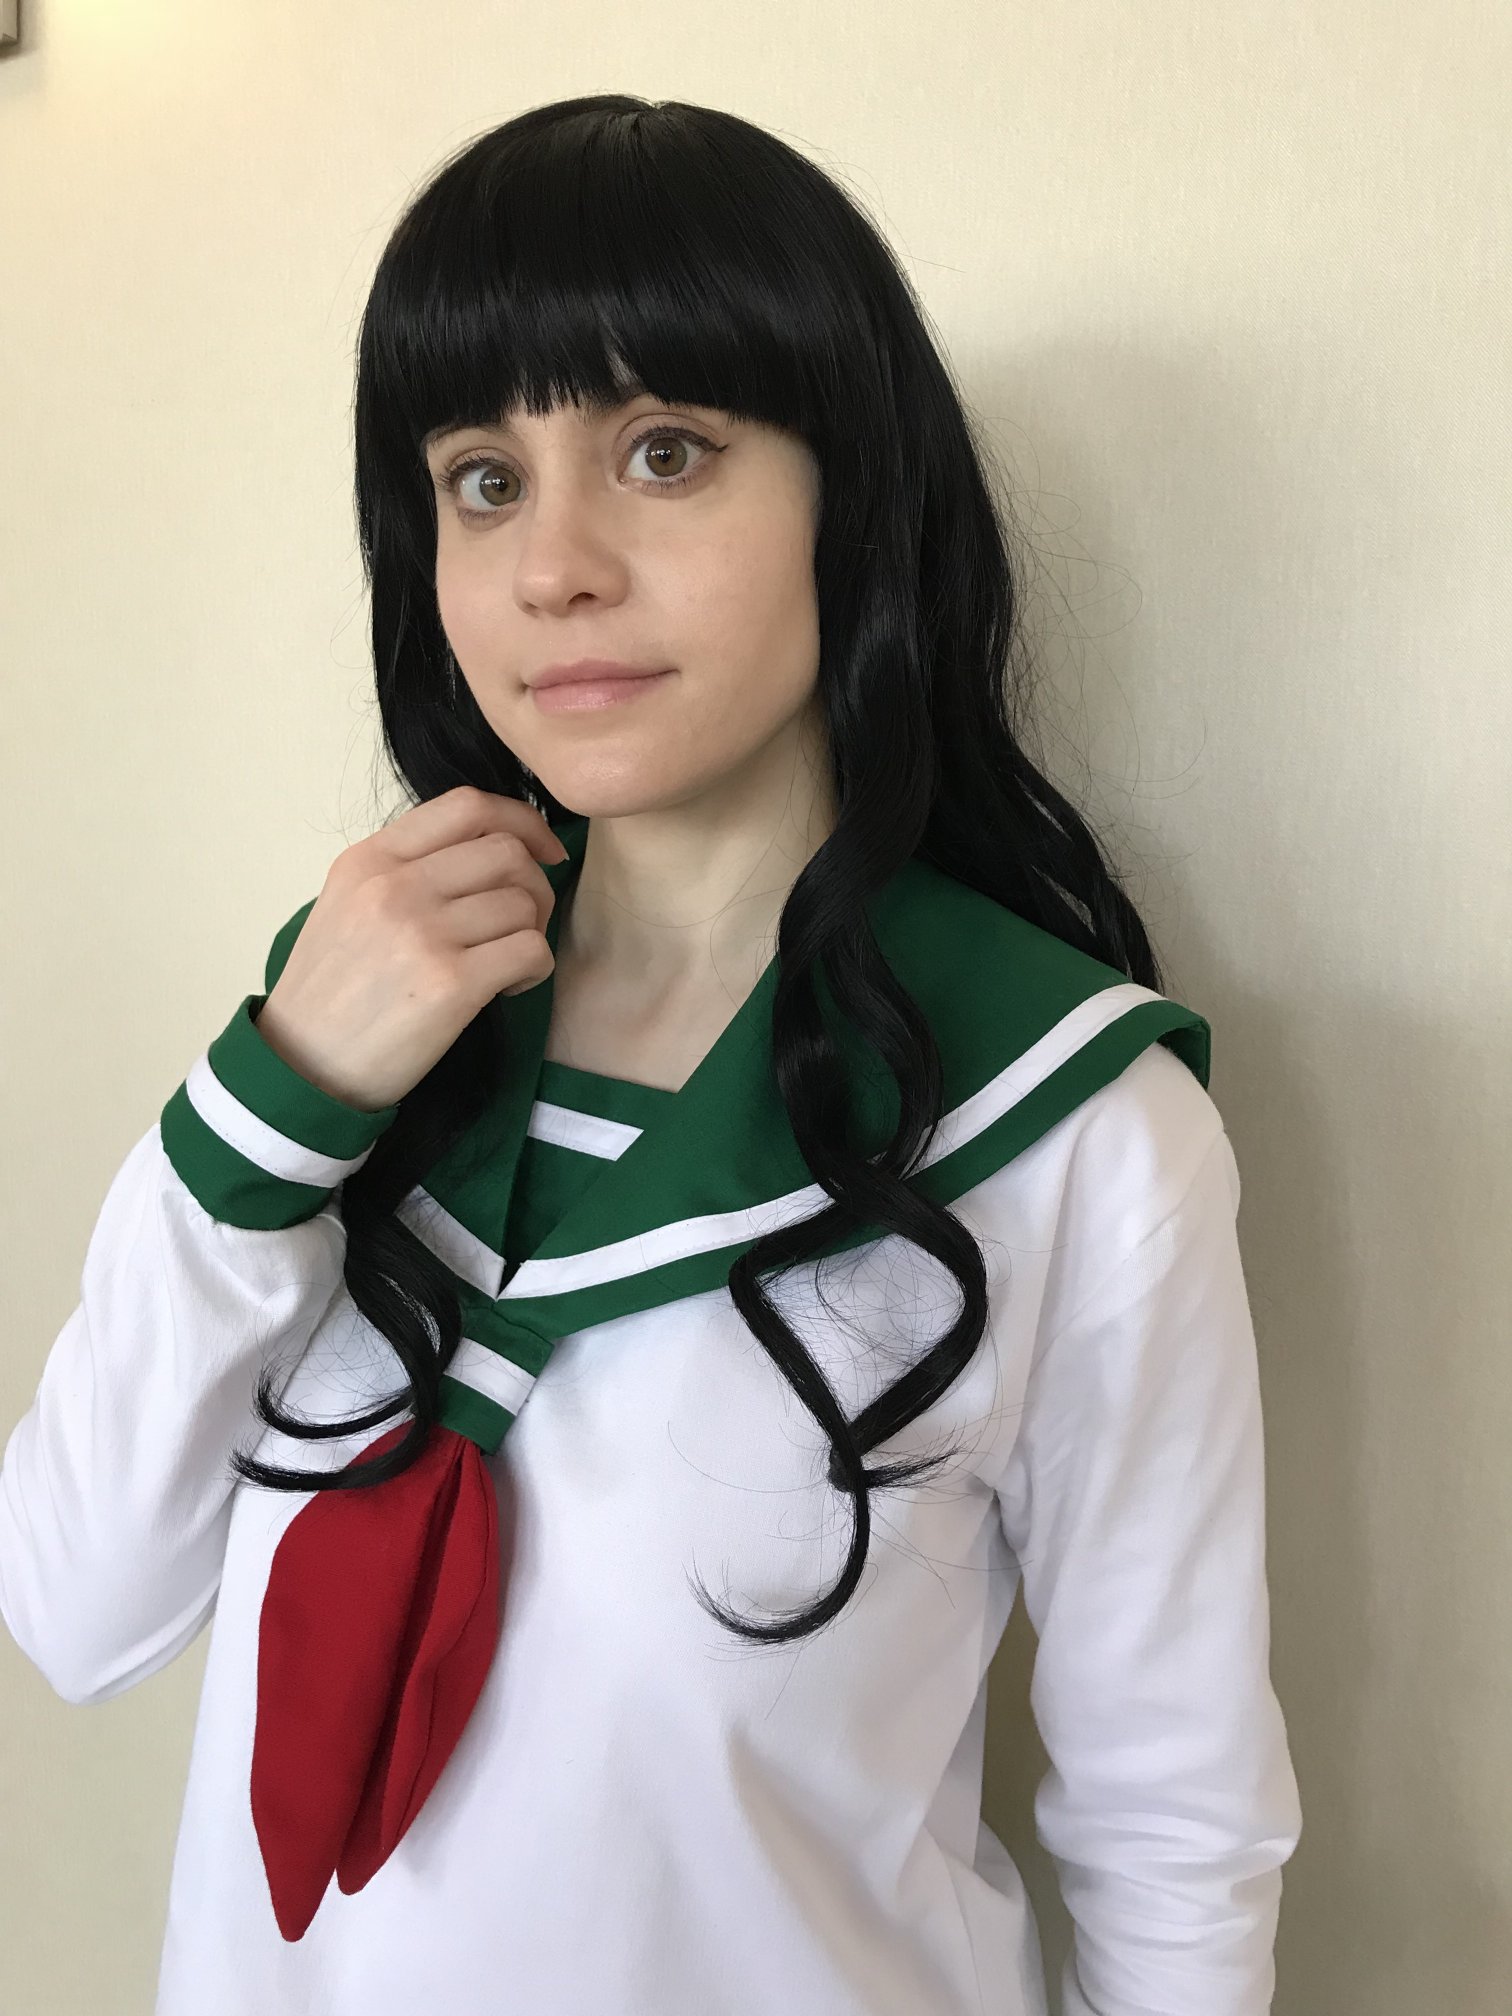
After my sewing break, I decided to refocus at the start of October to finally finish the costume. The costume felt a bit like a shackle from a time passed but I was determined to finish it and not give up on the costume. I used what I had learned from the mock to make the white blouse. I actually underestimated the material I would need when I purchased it so I had to make some drastic decisions about my blouse length before cutting out the material. I really didn't have any material to spare. Thankfully it turned out to be just enough and I'm pretty happy with how the basic blouse turned out. I had to create my own v-neck shape and I modified the back of the pattern because I wanted to treat it as a pullover instead of the original design which called for a zipper closure. The only thing I didn't like was the fact that the pattern called for the sleeves to be set in a very low position. That's pretty common in relaxed fitting things, but the look seemed a bit informal. Changing the sleeve hole would also change the way the sleeves worked and I was too worried that it would ruin the look of the blouse so I decided to leave it the way it was. The look seemed a bit strange for a uniform, but setting the sleeves was a fairly painless process so at least it made for a decent trade off.
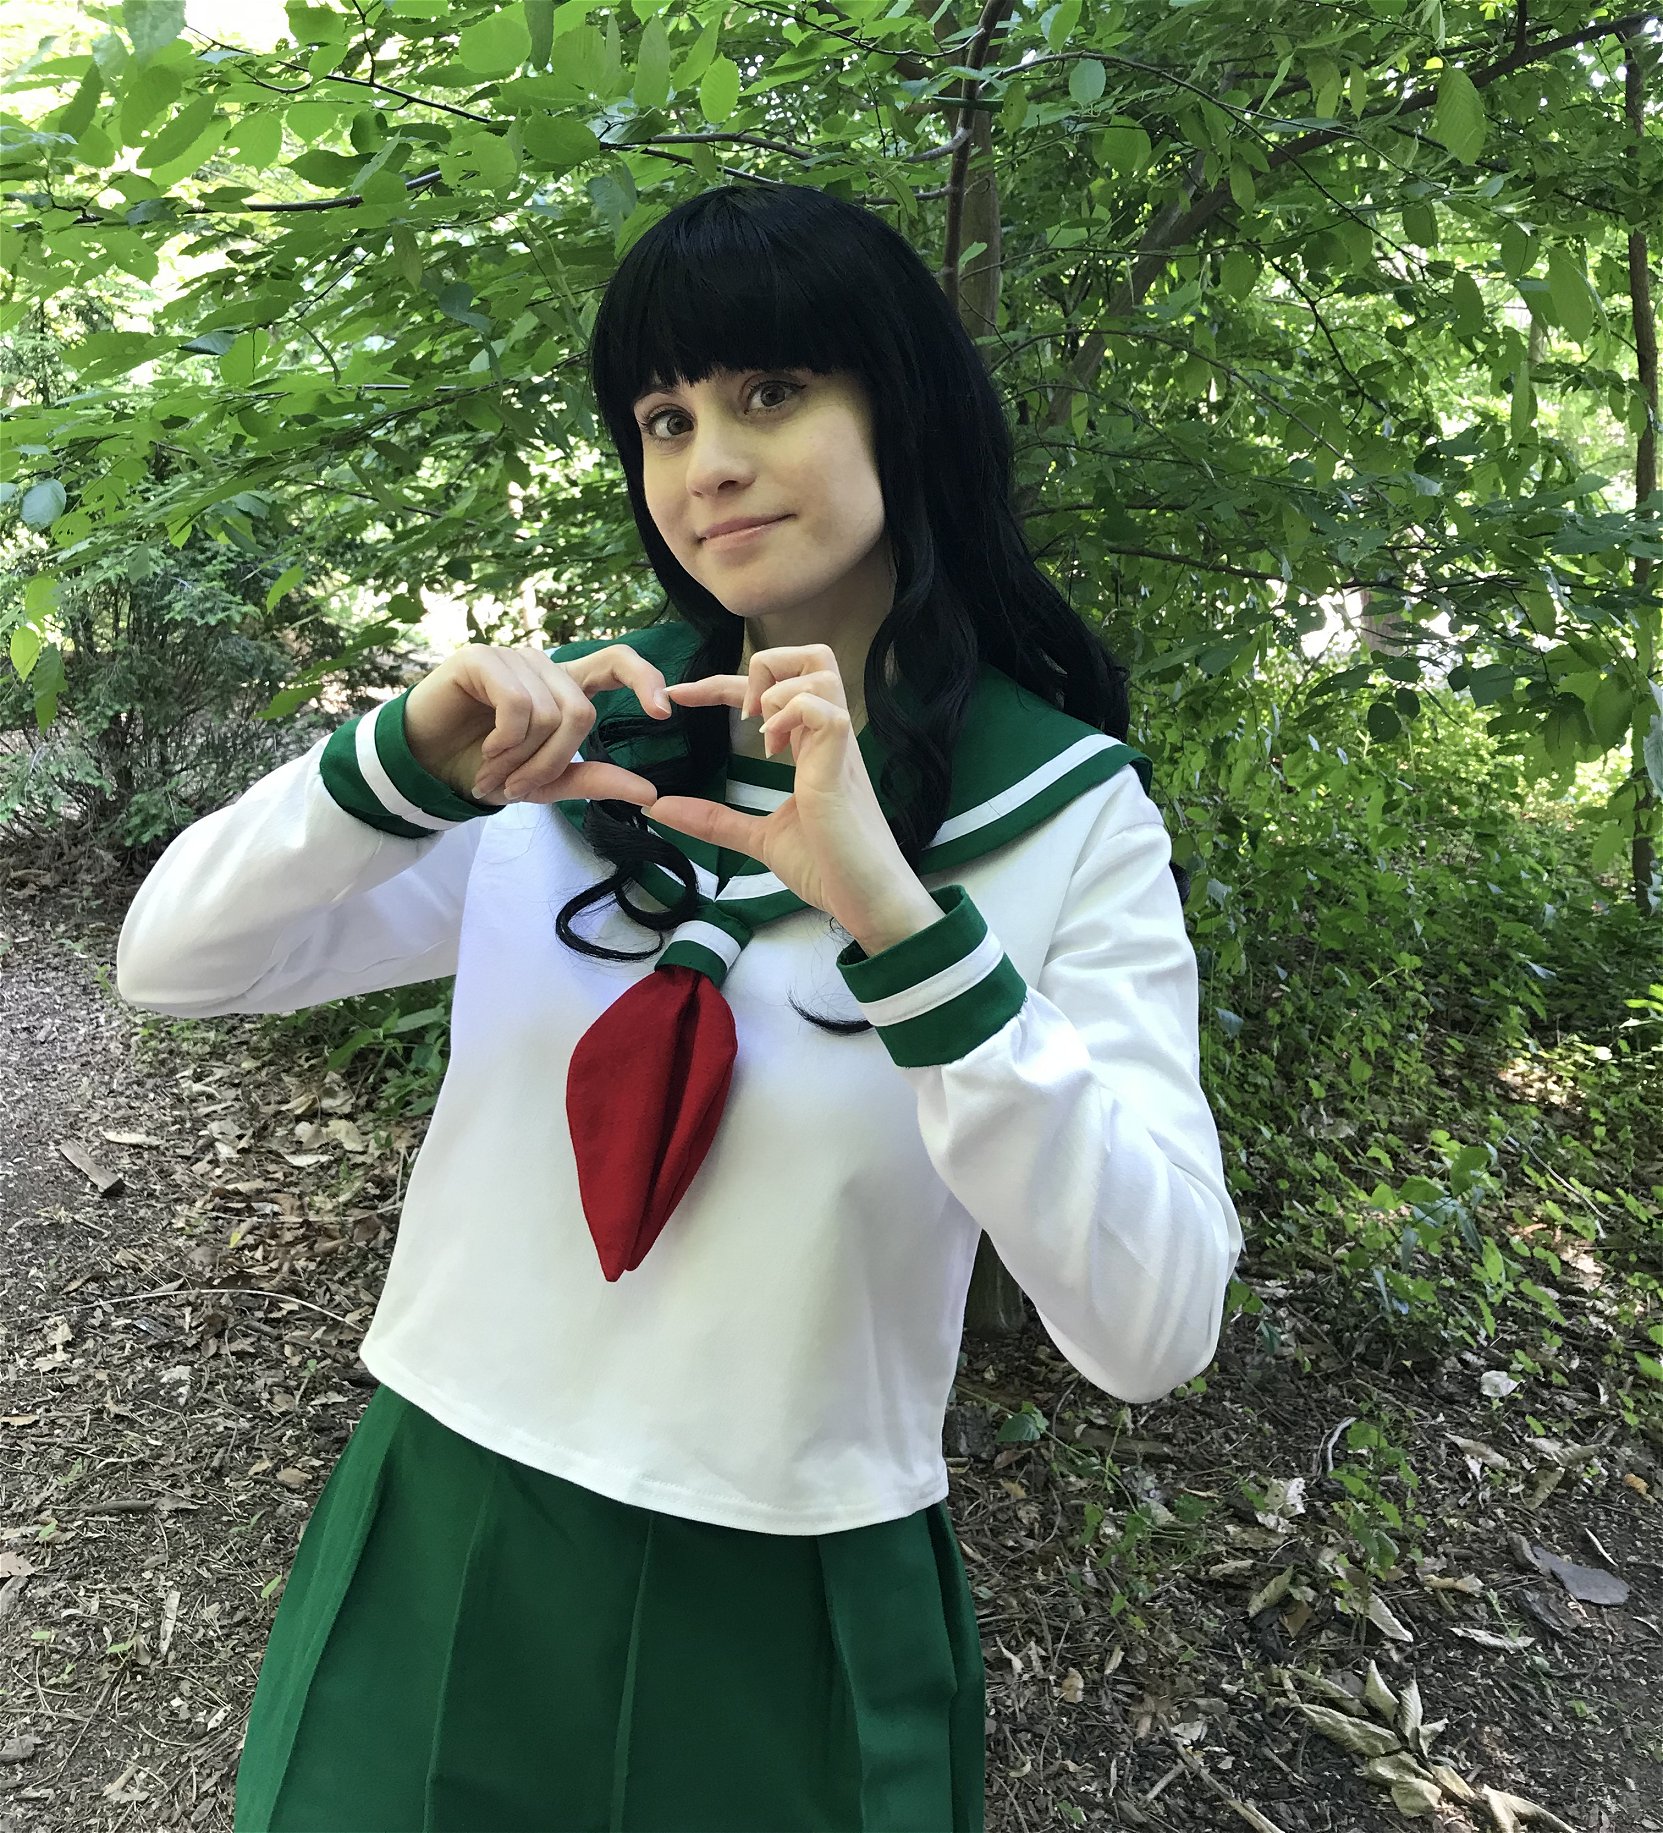
Once I had added a rolled hem to the blouse to give it some stability and a clean look, I decided to work on the collar. I've made several sailor collars over the years although I'm not so great at storing said patterns. I was looking for the pattern for my Saki sailor collar because it seemed to be about the right size, but I think I ended up finding what may have been the collar pattern for my Lolita Witch Rei costume. It was a bit large in the back and required some tweaking. The v-neck was pretty deep (maybe a bit deeper than I had expected) so the collar had to be pretty long to cover it. I wanted to make sure that I had left enough room for the undershirt to peek through. Making the collar was pretty straightforward. I used white double fold bias tape to give the white lines a crisp, clean look. The bias tape on my original Kagome costume was single fold and was more of a satin finish so it was a bit wrinkly looking. I'm quite happy with how the white lines looked on the green. They really stood out nicely which was one of the reasons I decided to make the costume out of a darker shade of green.
Next up I decided to make the �undershirt�. I didn't want to make a full shirt so I just roughly traced the shape of the neckline and cut out two pieces of green fabric in a somewhat triangular shape. I sewed them together, added more white bias tape and closed the edge. I was on a bit of a sewing spree so I also patterned out cuffs in the same fashion and attached bias tape and the green part of the front tie. The last thing that I needed to work on for the blouse was the red tie. I wasn't sure quite how to make the red tie. I was sort of hoping to use my original tie from my previous Kagome costume as an example, but I had discarded the costume a year or two ago. Instead I tried to make a couple of mocks before I finally crafted a shape I was happy with. I used some red fabric that Pan had given me that was leftover from her Amy costume. Originally the two halves of the tie were joined, but I cut them apart so I could strategically orientate the halves with greater ease. I had to redo one side because I trimmed the excess too close the tip so when I went to turn it and straighten the edge, it ripped. Finally I was happy with the shape and I pulled it and sewed it together so it had a decent silhouette to the way Kagome's sits in the series.
With all the green parts and the red tie done, it was now time to assemble everything. I added snaps to the collar and to the green undershirt. I preferred to attach the collar with snaps instead of sewing it in so it would lie flatter over the v-neck. I wanted to add the cuffs next so I attached them simply by following the sleeve edge. I had forgotten, though, as I was working, that the sleeves were actually meant to be gathered at the cuffs. The next day I had to take the cuffs off to redo them. Originally I had been entertaining the idea of making Kagome for Fan Expo in August. With my mom's health condition and the fact I was also working on my Wacky Wavy Inflatable Tube Man costume over the summer, I decided to postpone this costume until the Anime North Halloween Festival. By the time I was working on the cuffs, it was only about a week and a half until the costume was due. I finished adding the cuffs for the second time. I was pretty happy with the look although I soon realized that one of the two cuffs was a bit bigger than the other so I had to scale back and reattach said cuff for the 3rd time. Nothing is ever easy.
Having finished the cuffs, it was time to tackle the tie. It took maybe an hour of finicking but I managed to finally arrange the tie and sew it down to the collar in a way that it covered the edge of the collar and sat nicely. I made up the collar size and tie shape a bit on the fly so I wasn't sure if it would be overly large, but the scale looked pretty good on the completed costume.
At this point the blouse was pretty much done. I had to play around a bit with the positioning of the undershirt and the shape of the sailor collar at the neck as the collar at the neck was shaped a bit oblong. I added some strategic stitches so it looked a little smoother.
Next up was take 2 of the skirt. I had repositioned the pleats before I had put the skirt away in the summer so I hemmed the skirt, re-sewed the tops of the pleats and then I had to make a new waistband. This time I was a bit generous with the length of the waistband. Attaching the waistband was pretty easy, but I had some issues when it came to sewing in the zipper. I had trouble remembering the right way to line up the zipper. I actually re-sewed it about 3 times. This was on the Tuesday the week I planned to wear Kagome to the Halloween dance that Friday. As I was trying on the skirt after putting in the zipper on Tuesday night, I ripped the fabric of the zipper and I had to cut the zipper to get out of it. I was a bit panicked about the zipper but thankfully my friend Pan offered to take me to Fabricland on Wednesday night. I was able to buy a new zipper and more thread. I really appreciated Pan's save since she really helped me out when I was in a bind. The only disappointing thing was that the zipper was a much darker shade of green than the fabric.
It took me a couple more tries to finally realize exactly how the zipper needed to be set in the skirt. I decided to carry it up into the waistband which was how I had attached the zipper in my Madoka costume. I pretty much finished putting in the zipper on Wednesday, but I still had to clean it up and finish fixing the overly large cuff the night before the Halloween event. The issue came when I was trying it on again. The skirt seemed ok, but was a tad big. I thought it would be fine although the two pleats on either side of the zipper felt a bit pulled and didn't really want to stay in position. They liked to fall open and I wasn't sure why. I tried to tack them down with a few stitches, but it was just a temporary fix.
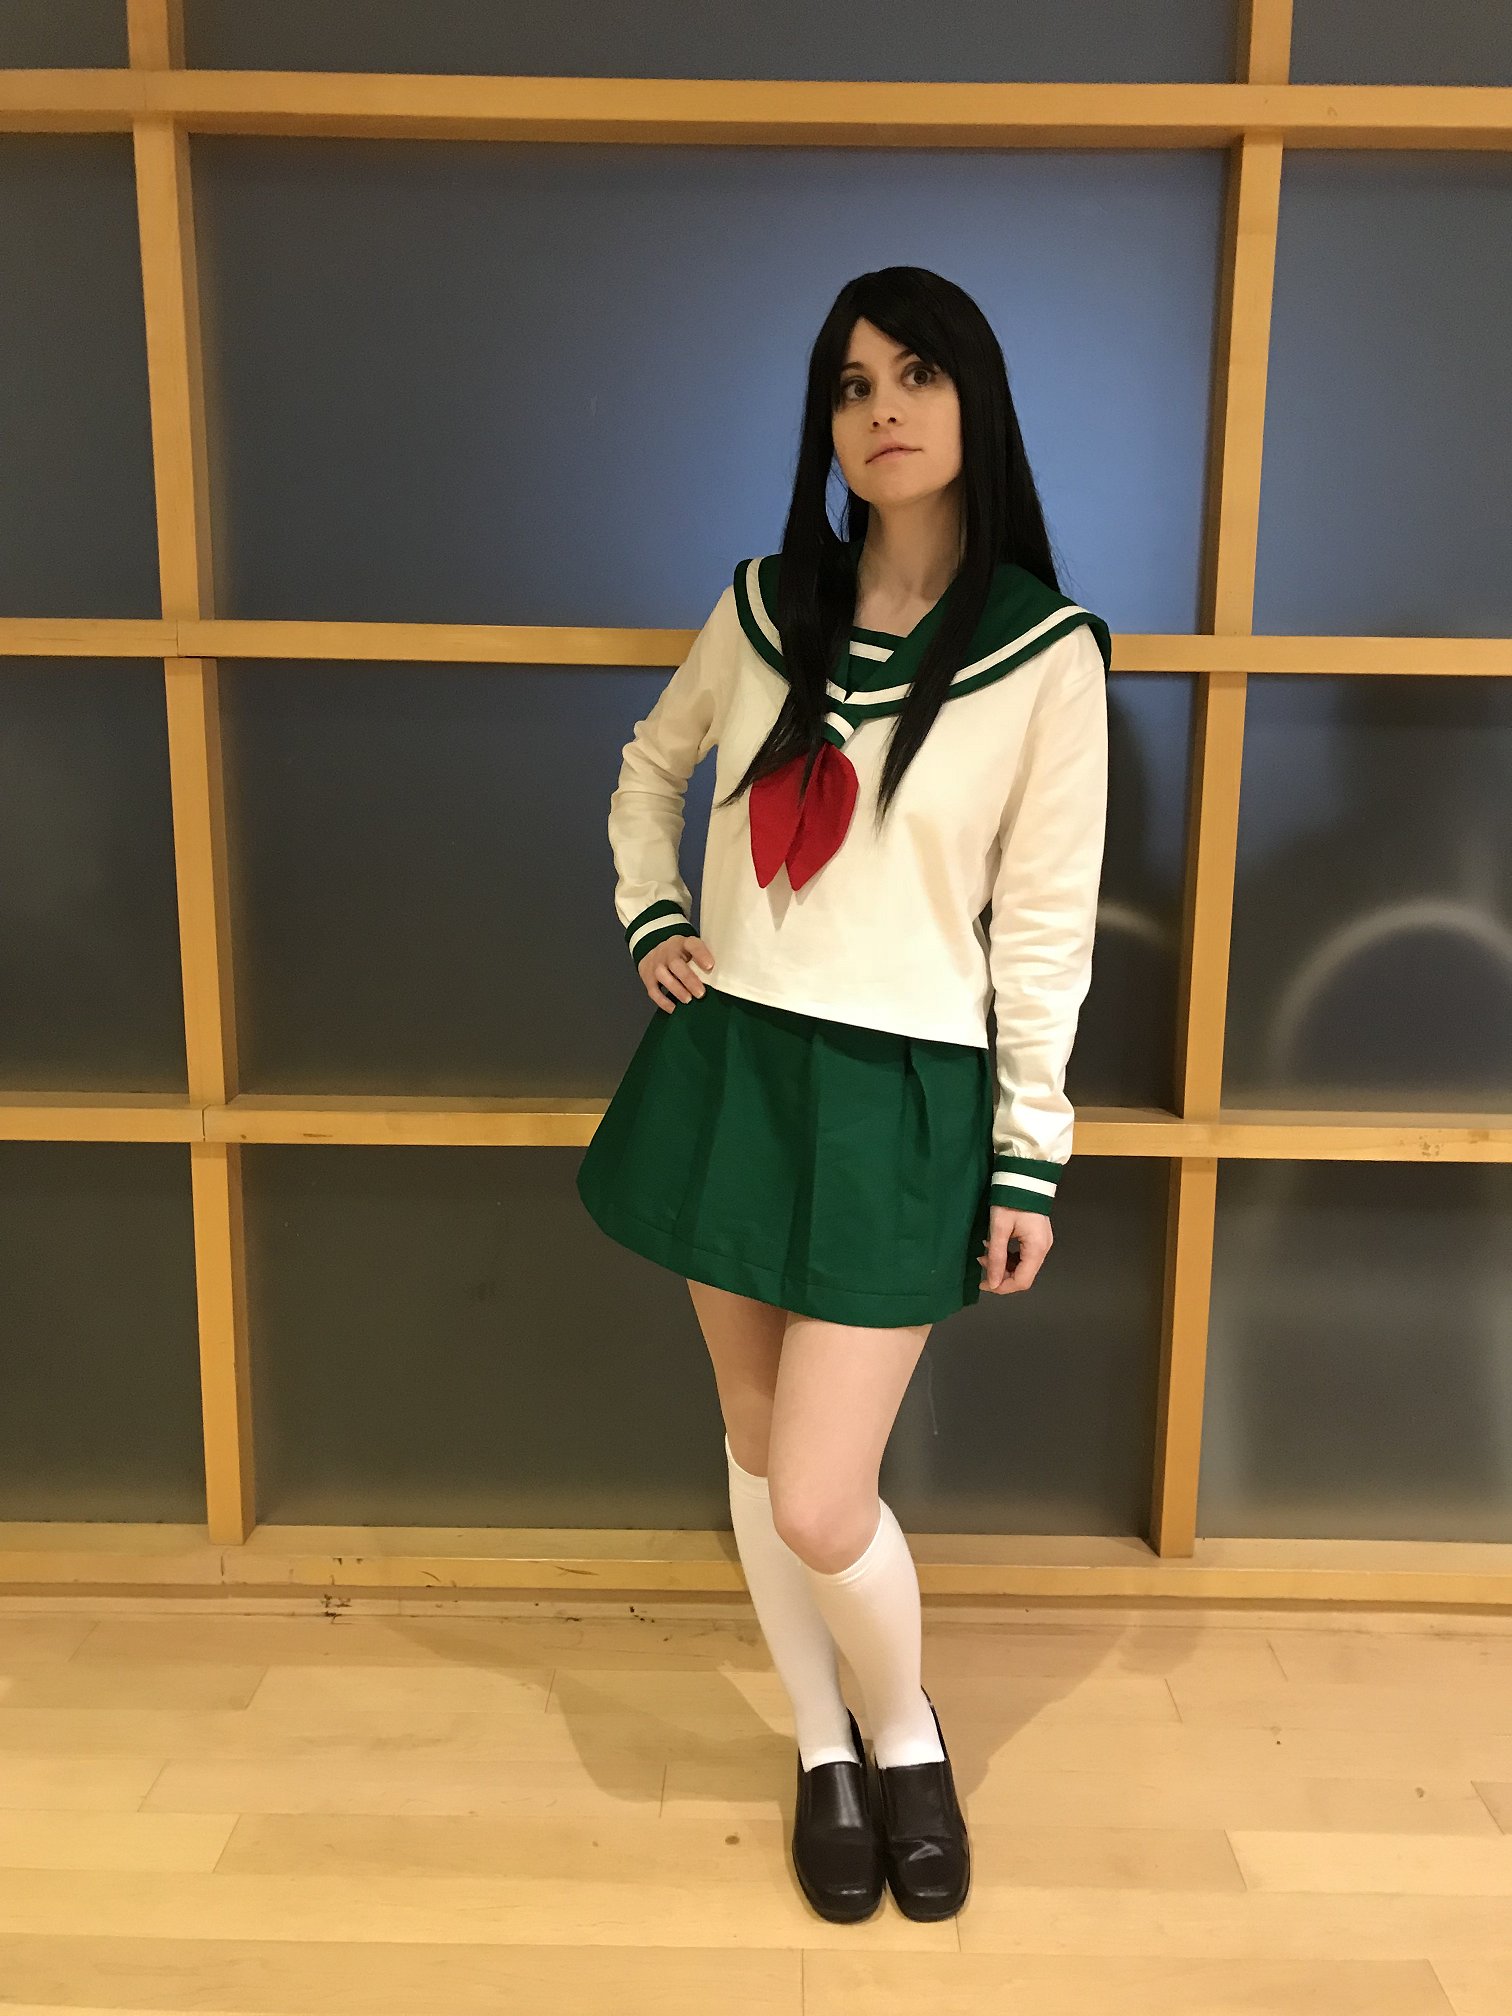
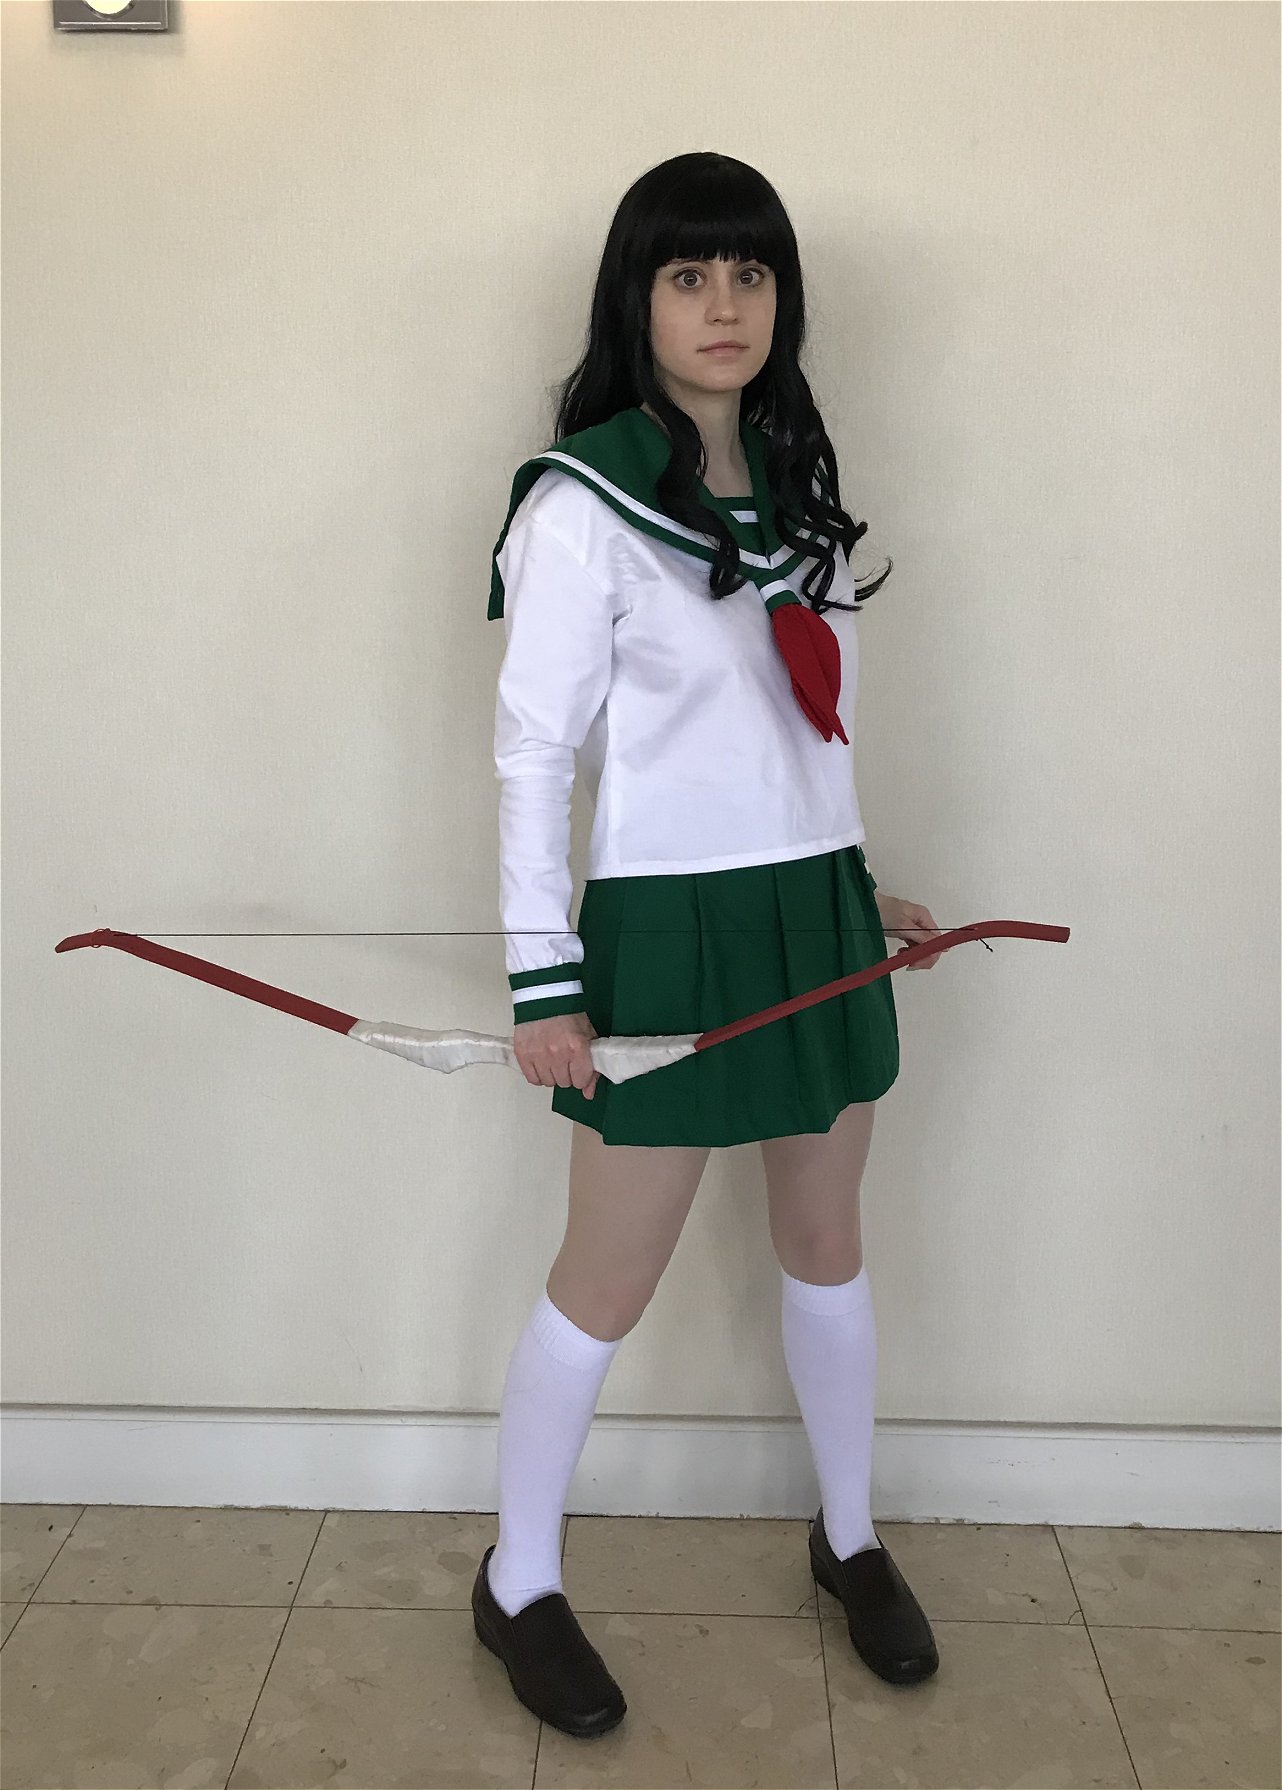
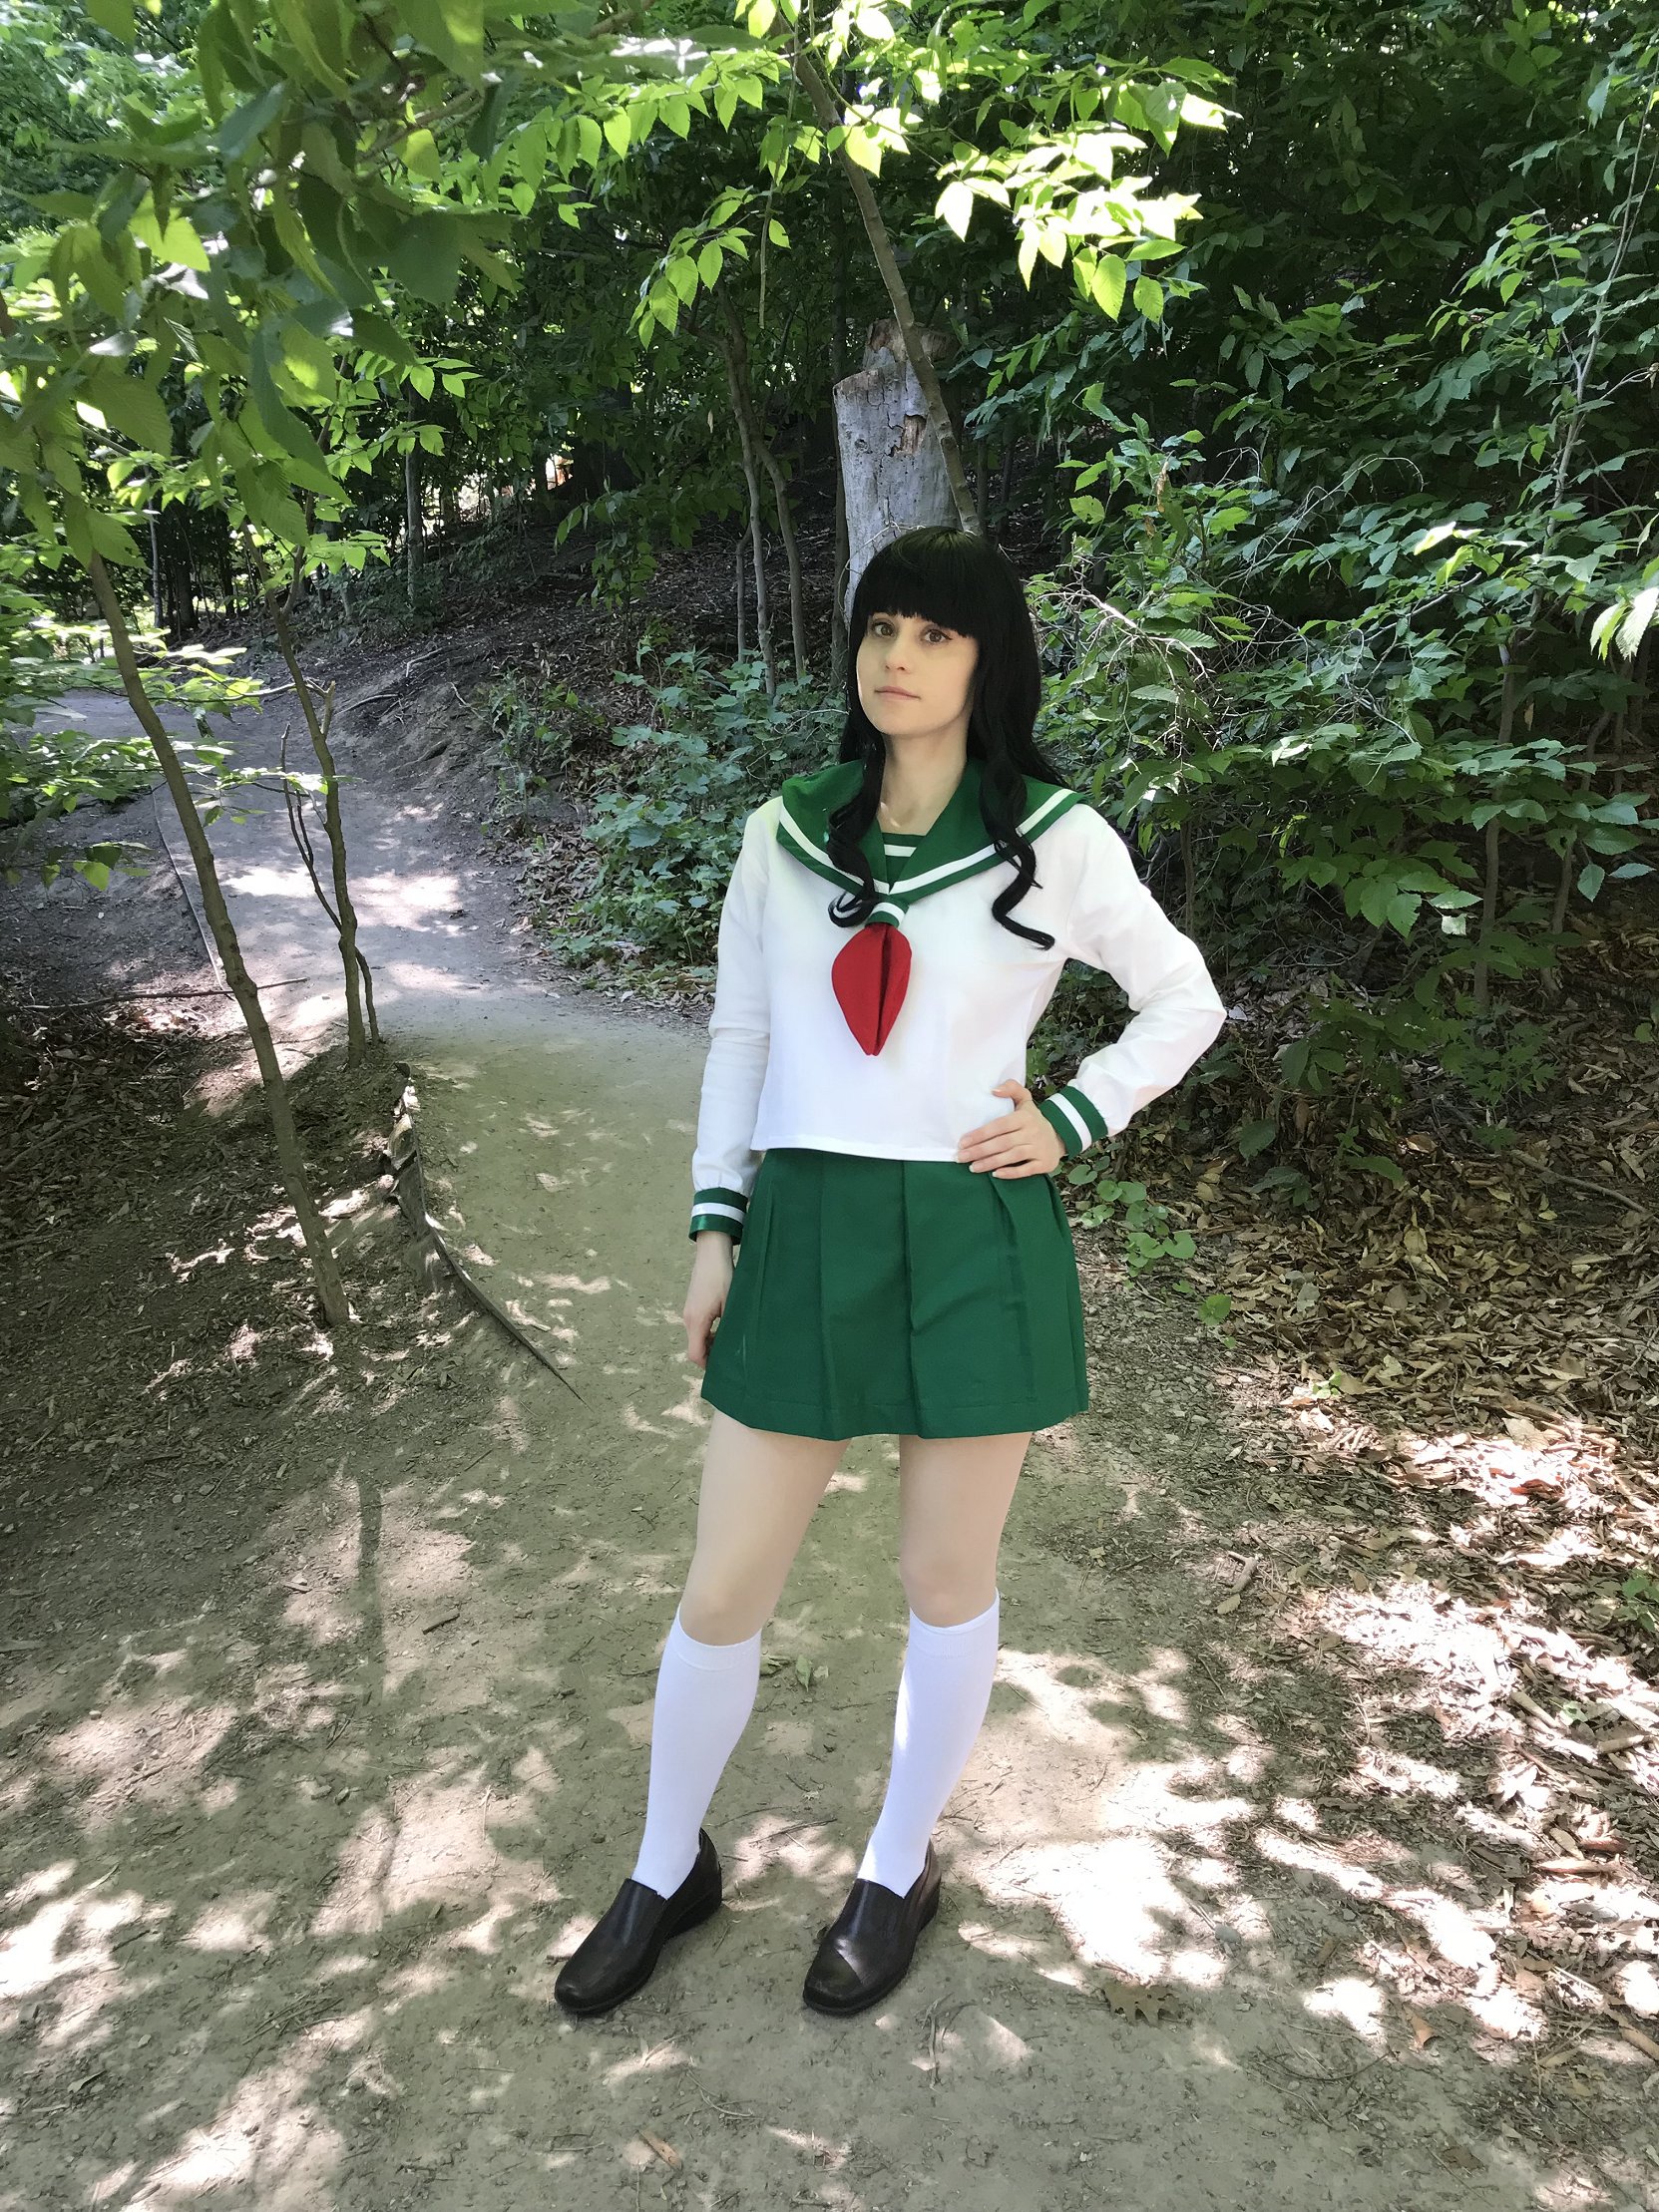
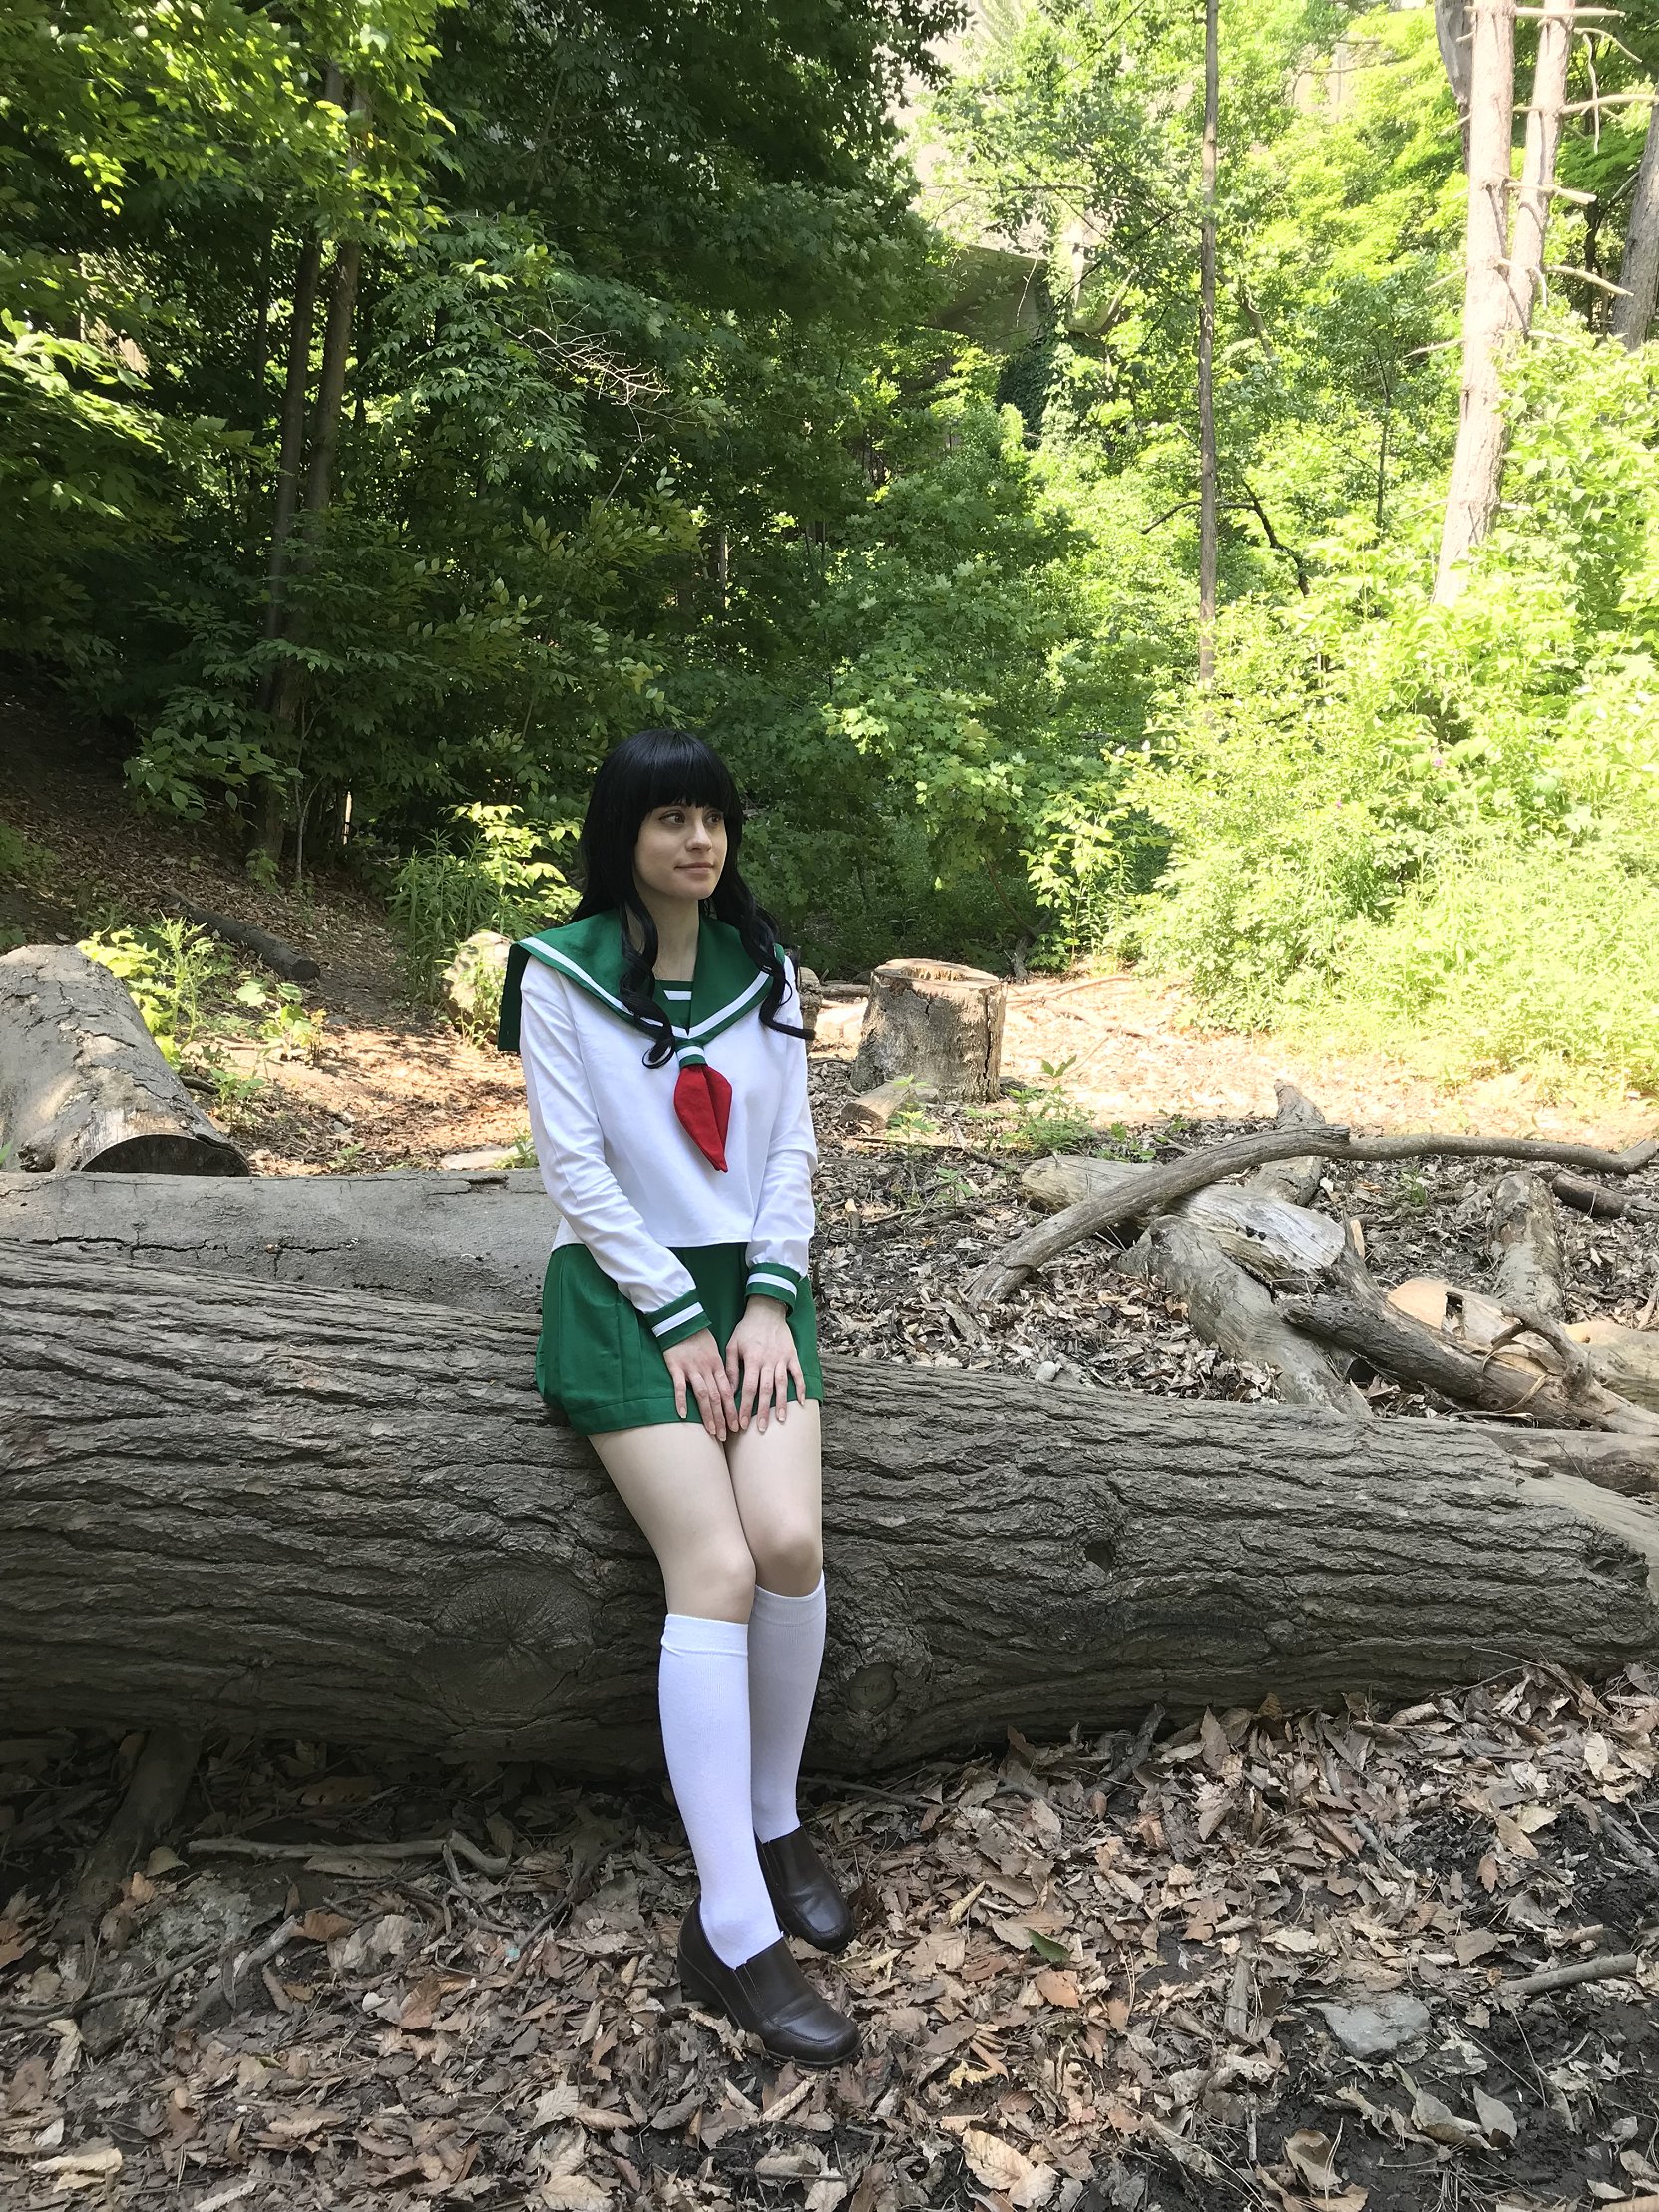
The day of the Anime North Halloween Festival finally arrived and I was excited to give Kagome a test run. I had purchased an Arda Nina Silky wig in onyx back in the spring for Kagome, but I wasn't really sure how I wanted the wig to be styled. My friend Pan had offered to help me with trimming it and straightening it, but we just didn't have enough time to get it done for the Halloween event with everything that had been going on. I lost track of time with sewing to set aside time for wig work. So a week before the event Pan lent me her Supergirl wig, which was a basic straight long black wig. It worked well enough as a temporary wig for the Halloween event. I finished up the outfit with my brown penny loafer shoes (the same ones I've used for several costumes including Eleanor from Rule of Rose and Madoka) and a pair of white knee high socks. I did order a pair of knee length slouch socks, but they did not arrive in time for the Halloween event. I know Kagome wears regular knee high socks, but I thought slouch socks would look complimentary. I'm looking forward to seeing if they'll look nice with the costume in the future. The big issue I ran into was when I put on shorts under my skirt. I always wear shorts under short skirts, but the shorts made the skirt waistband a bit slippery. Since the skirt was already a bit big, it made the skirt slide a bit and looked awkward. I didn't have time to take anything in so I had to pin the waistband to tighten it. I tried to be generous with the waistband after making the skirt too tight before, but instead I made it too loose. It was very frustrating.
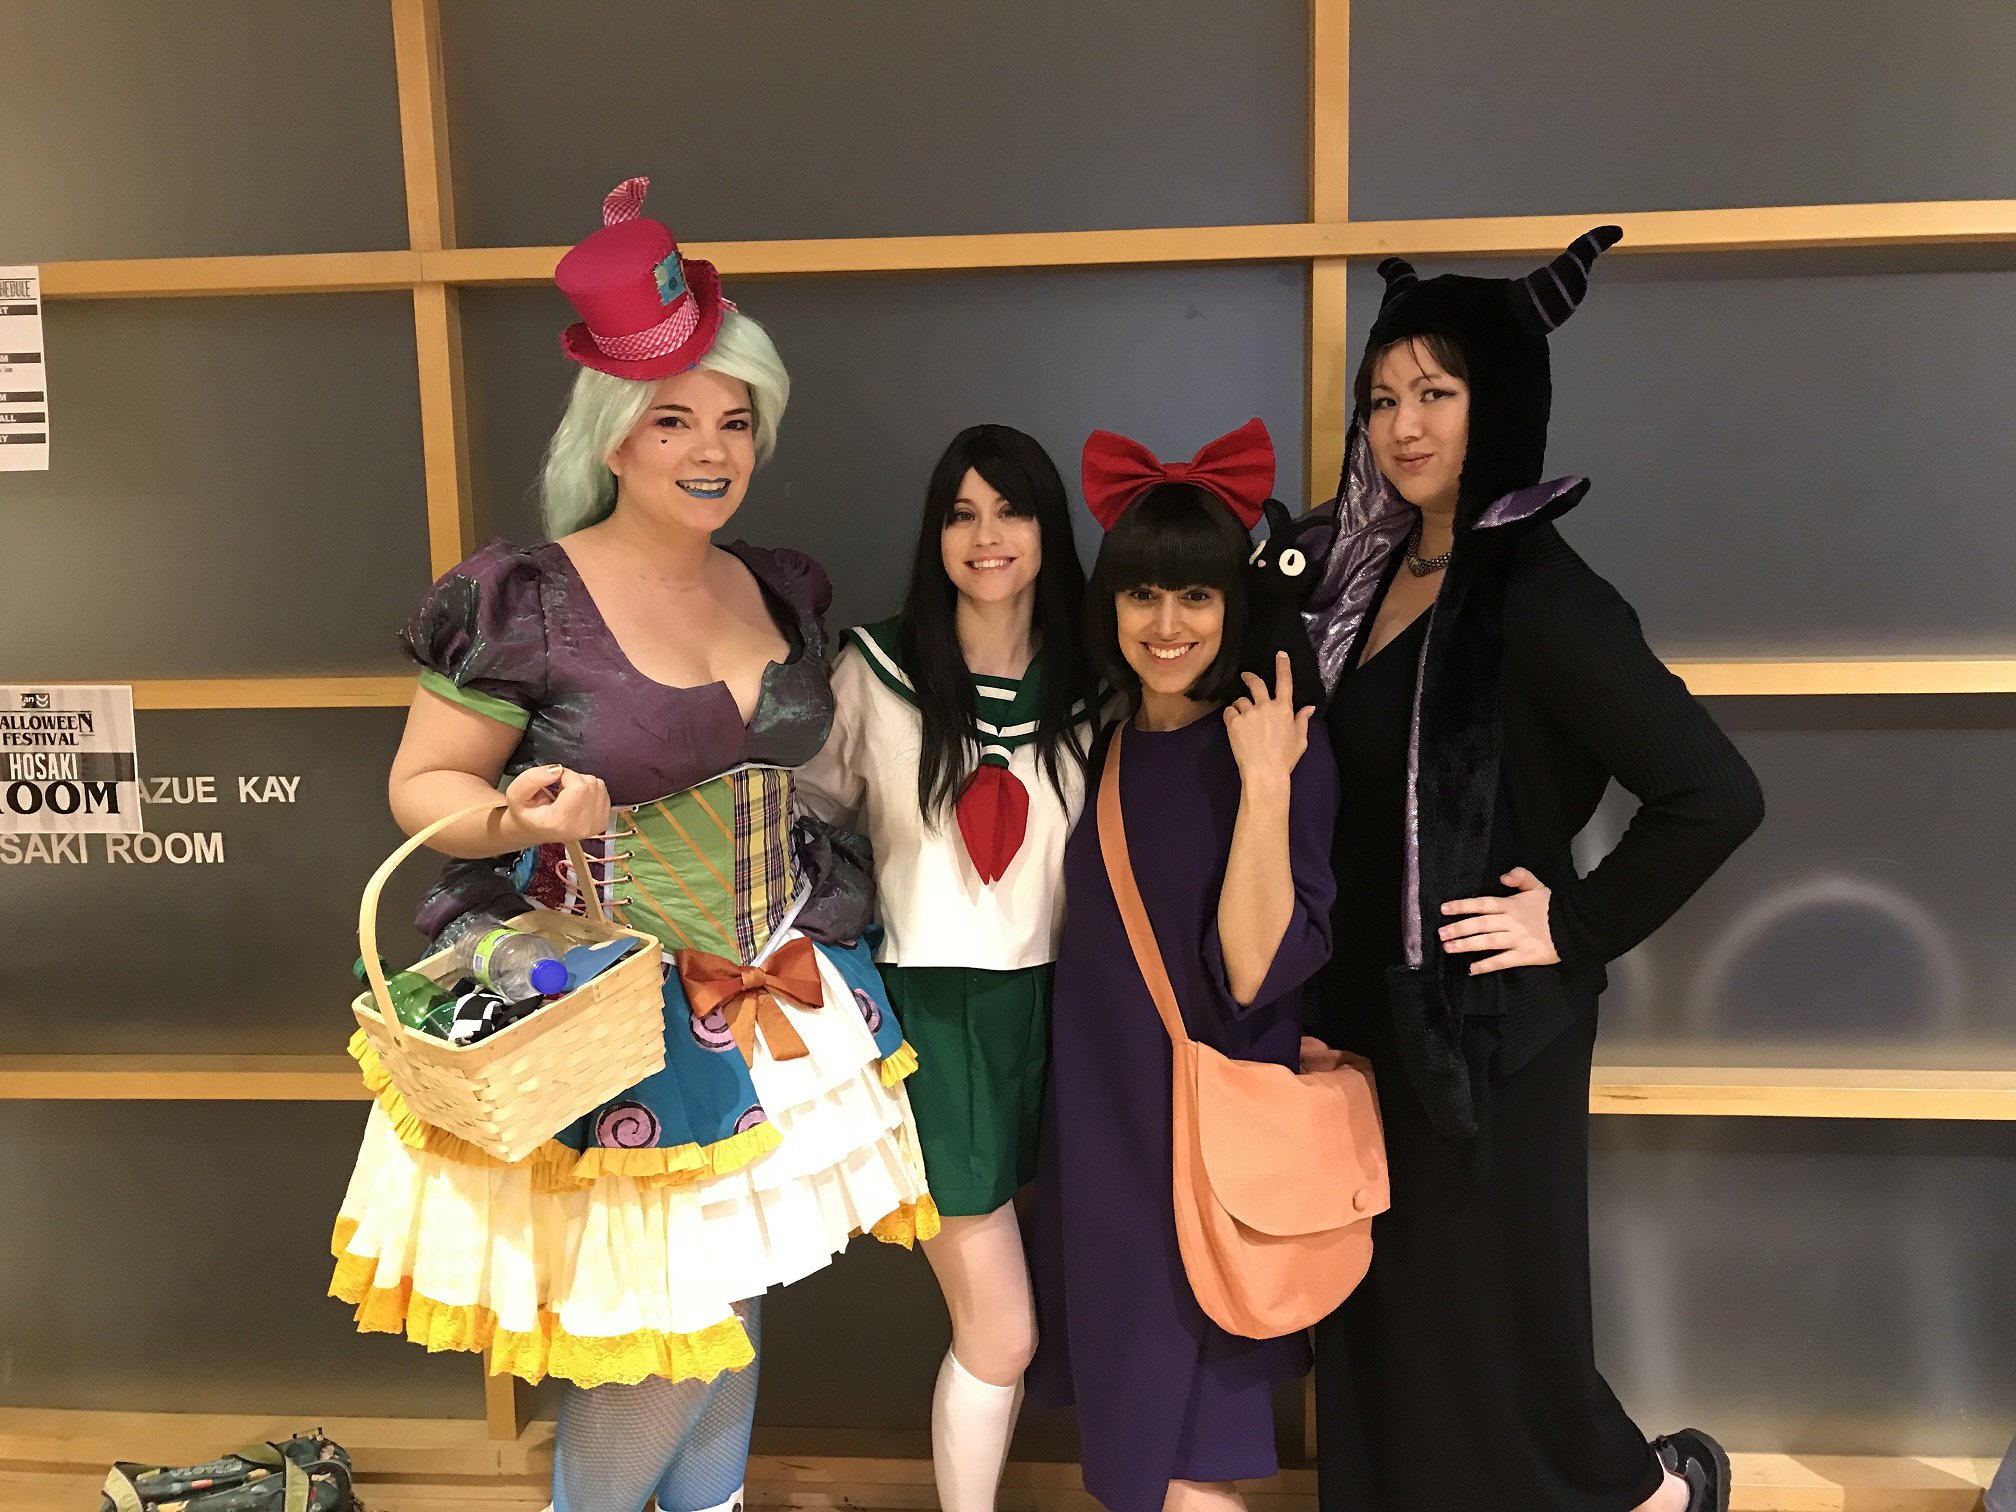
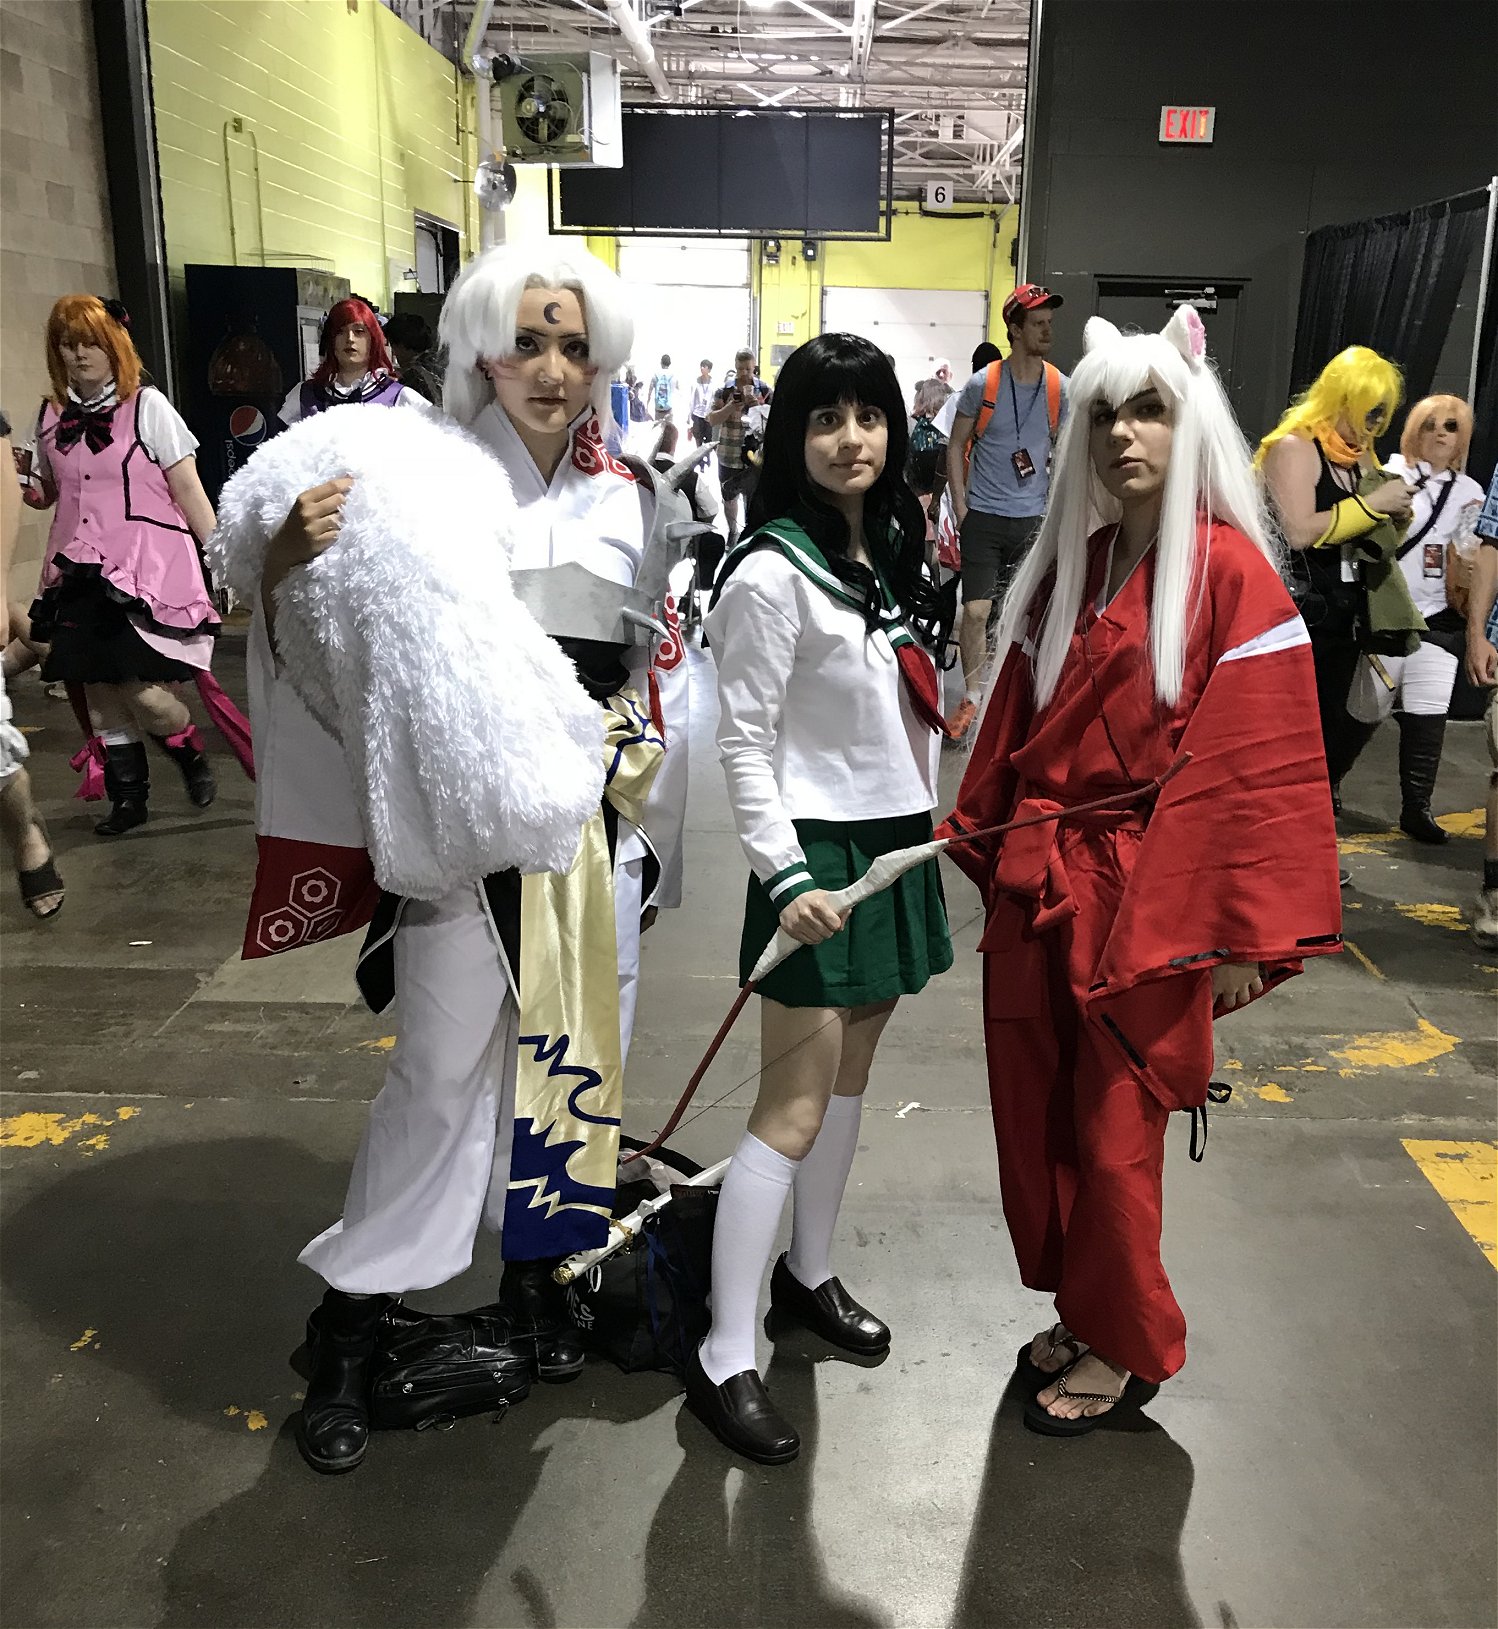
I wore Kagome to the Anime North Halloween Festival, anyway, and had a fun time. Quite a few people recognized the character for being a bit of throwback now. It's a bit surreal considering Inuyasha to be a classic series now just because I remember the days of it coming into popularity just as I was starting Cosplaying. It's definitely an interesting experience remaking an old costume and despite the issues, I was pretty proud of how nice it looked overall. I think I struck a decent balance between making the costume flattering and yet giving it a relaxed look. It's just too bad about the wig and the skirt and that I ran into so many little issues as I was sewing so I was constantly remaking parts.
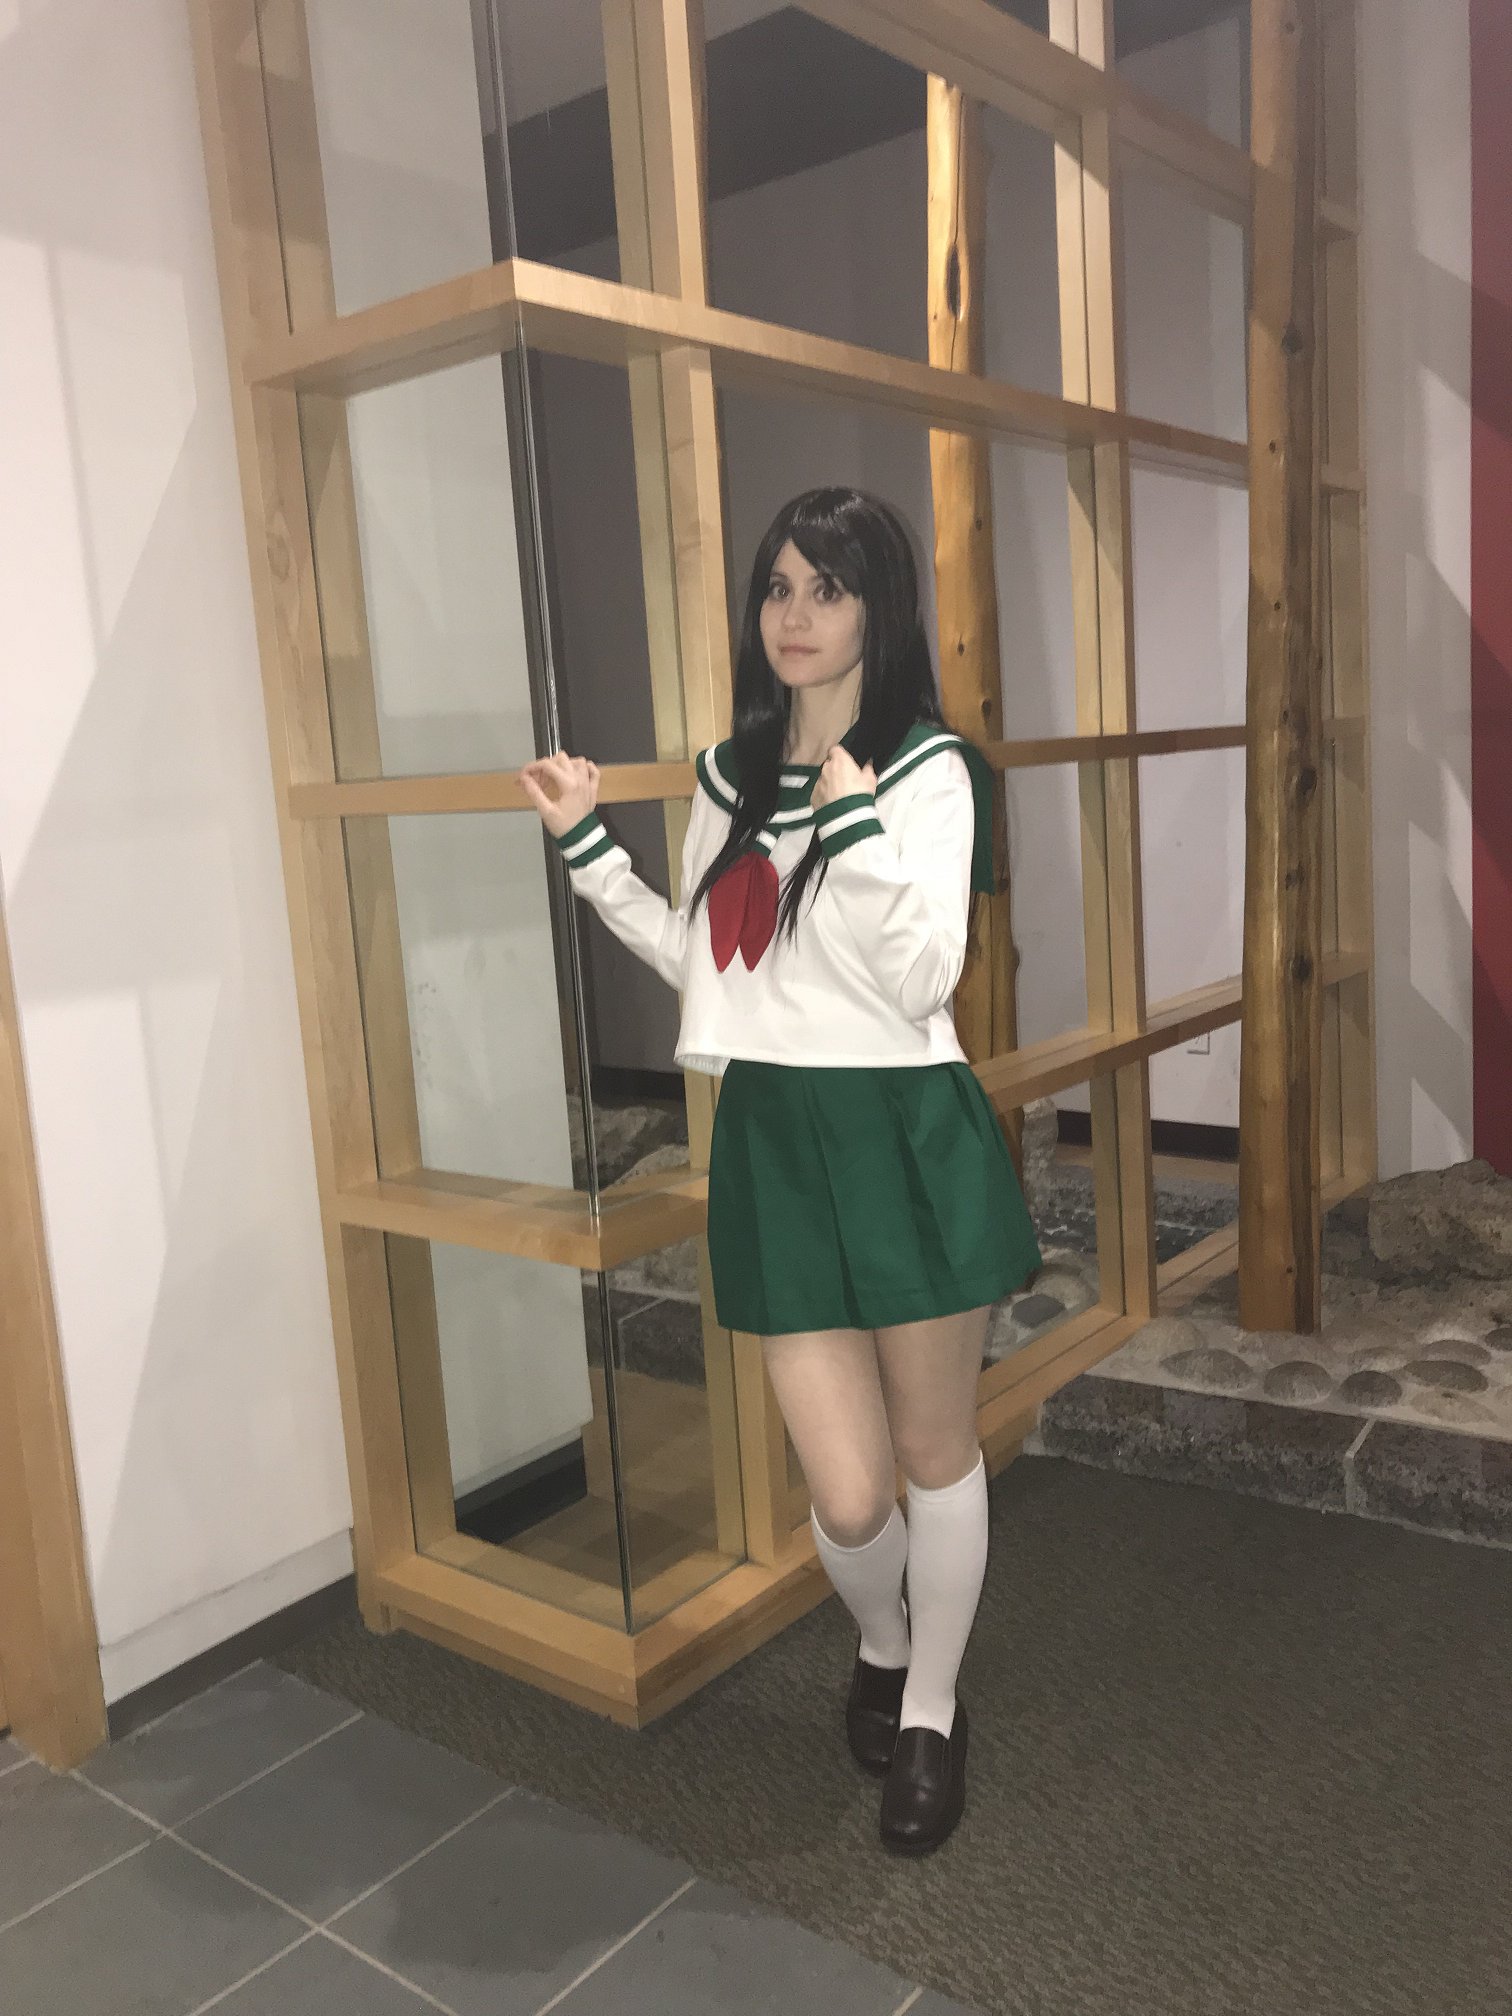
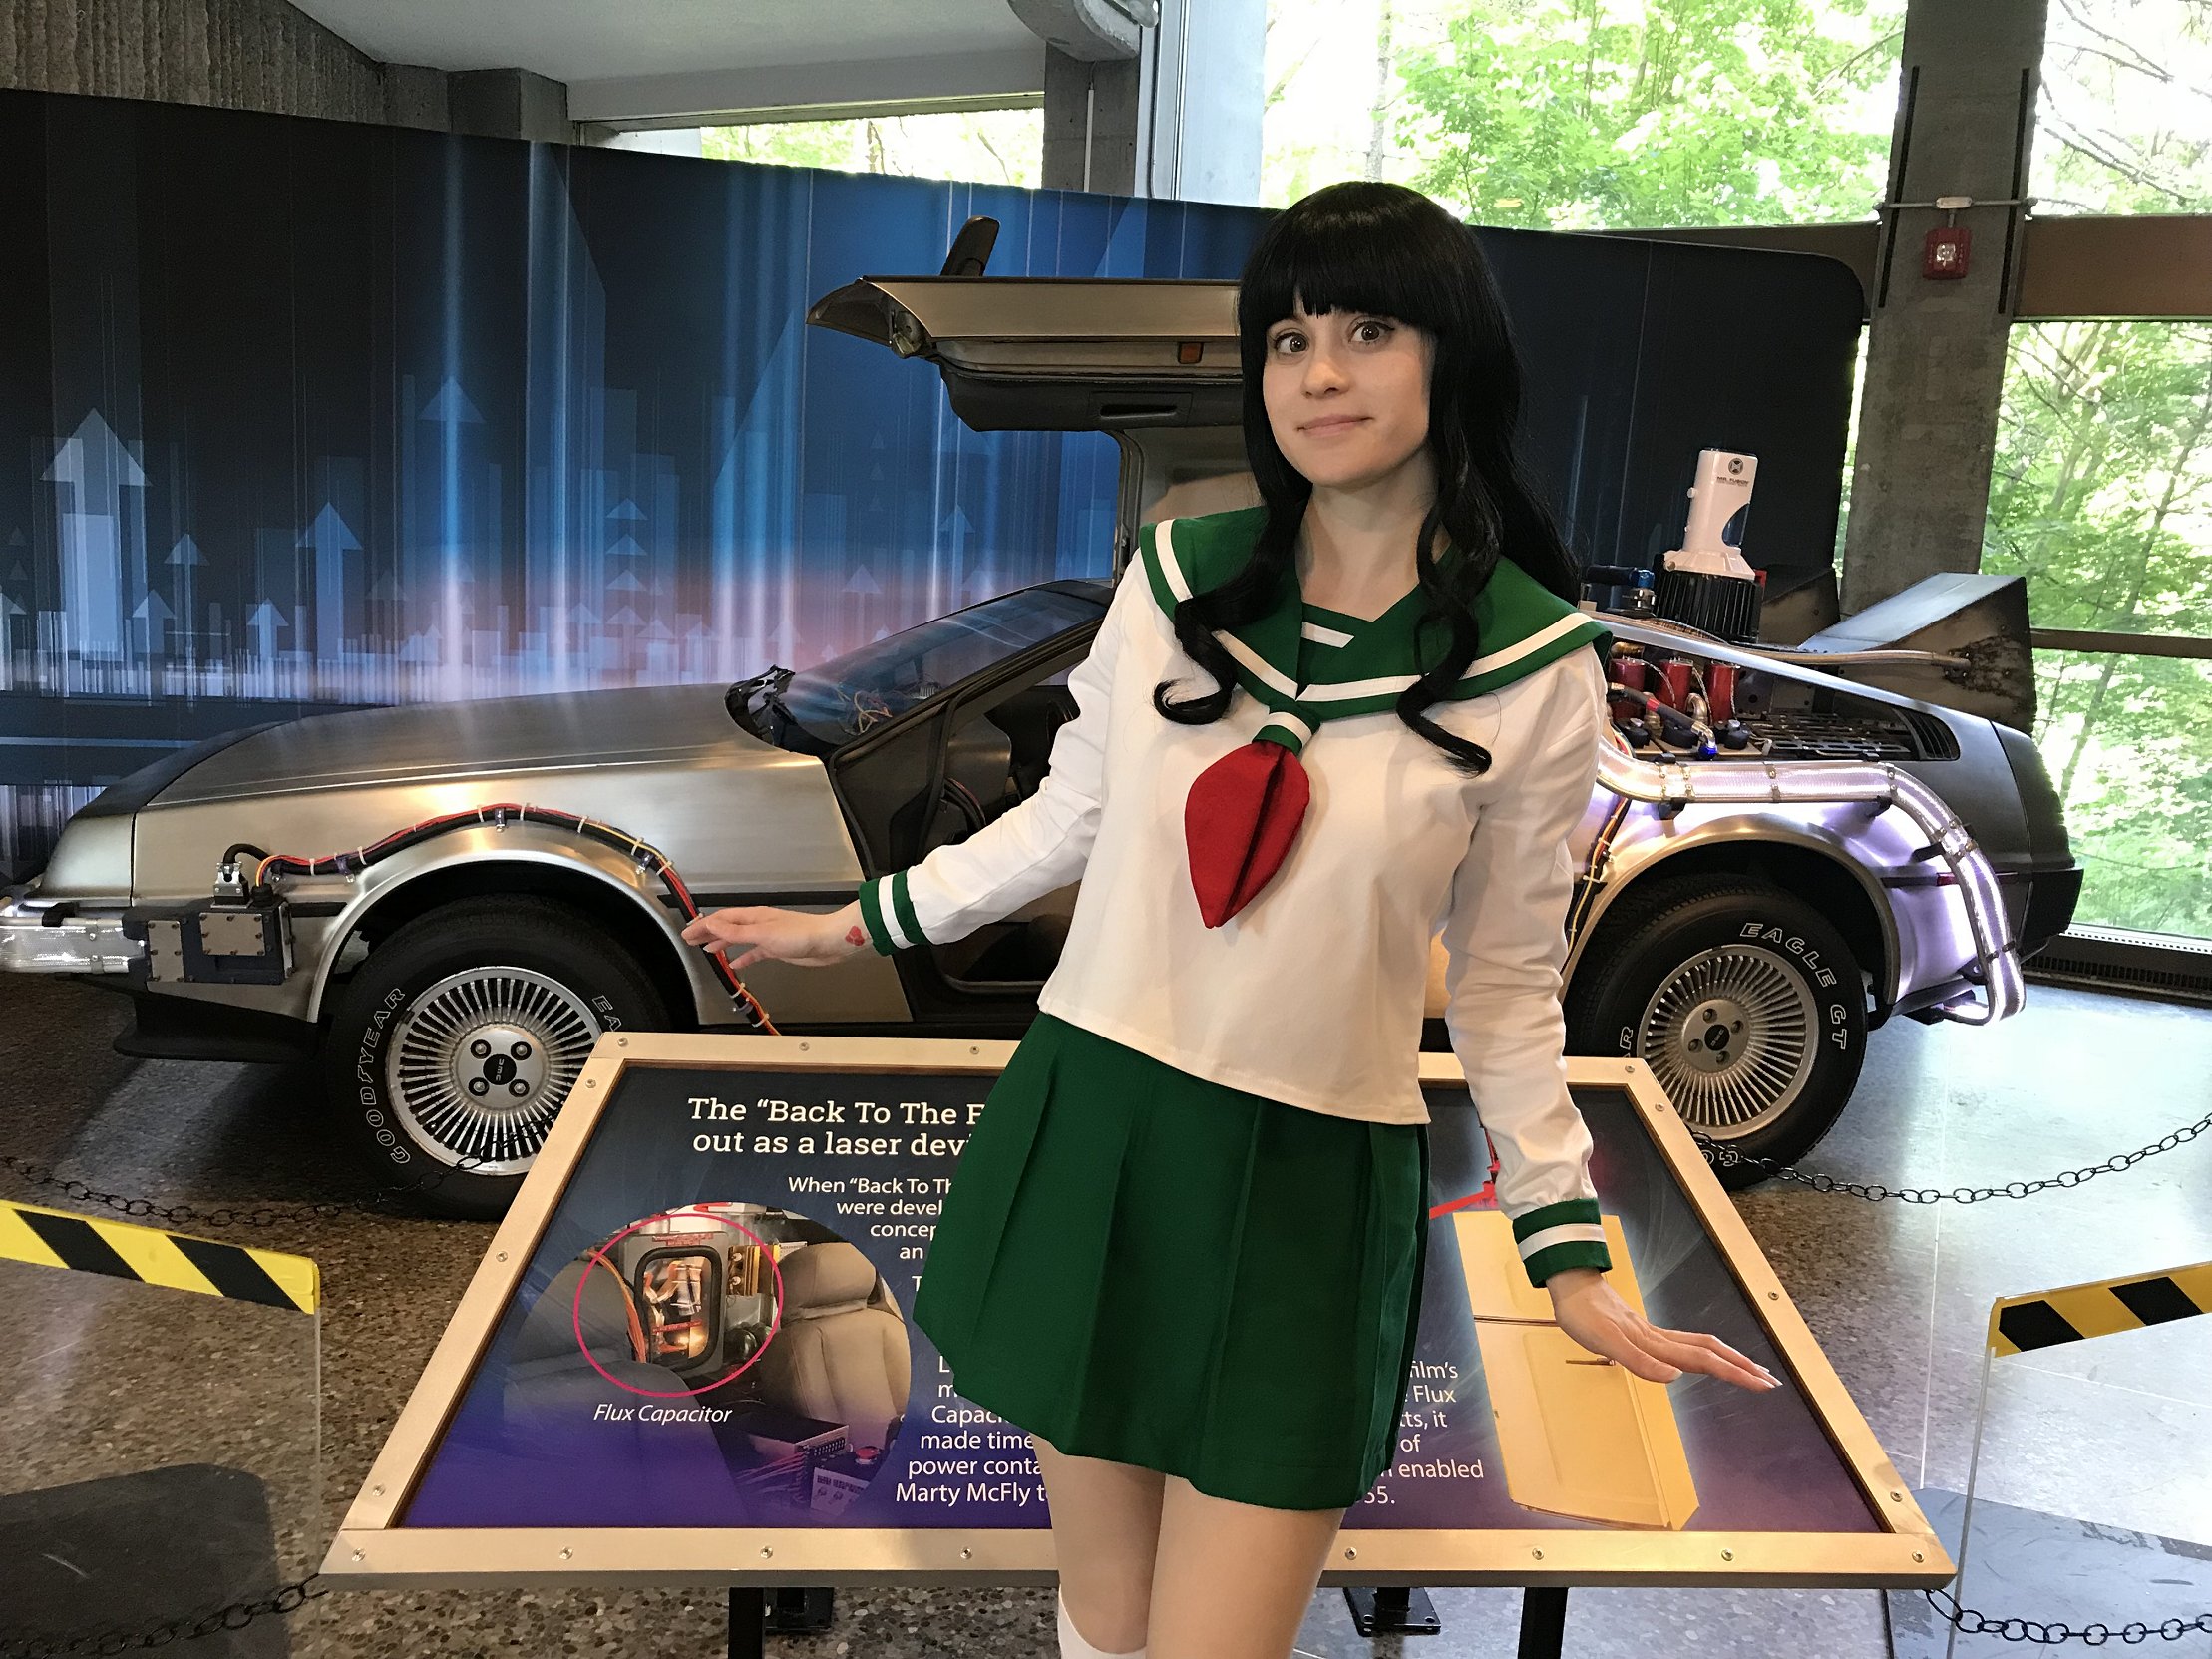
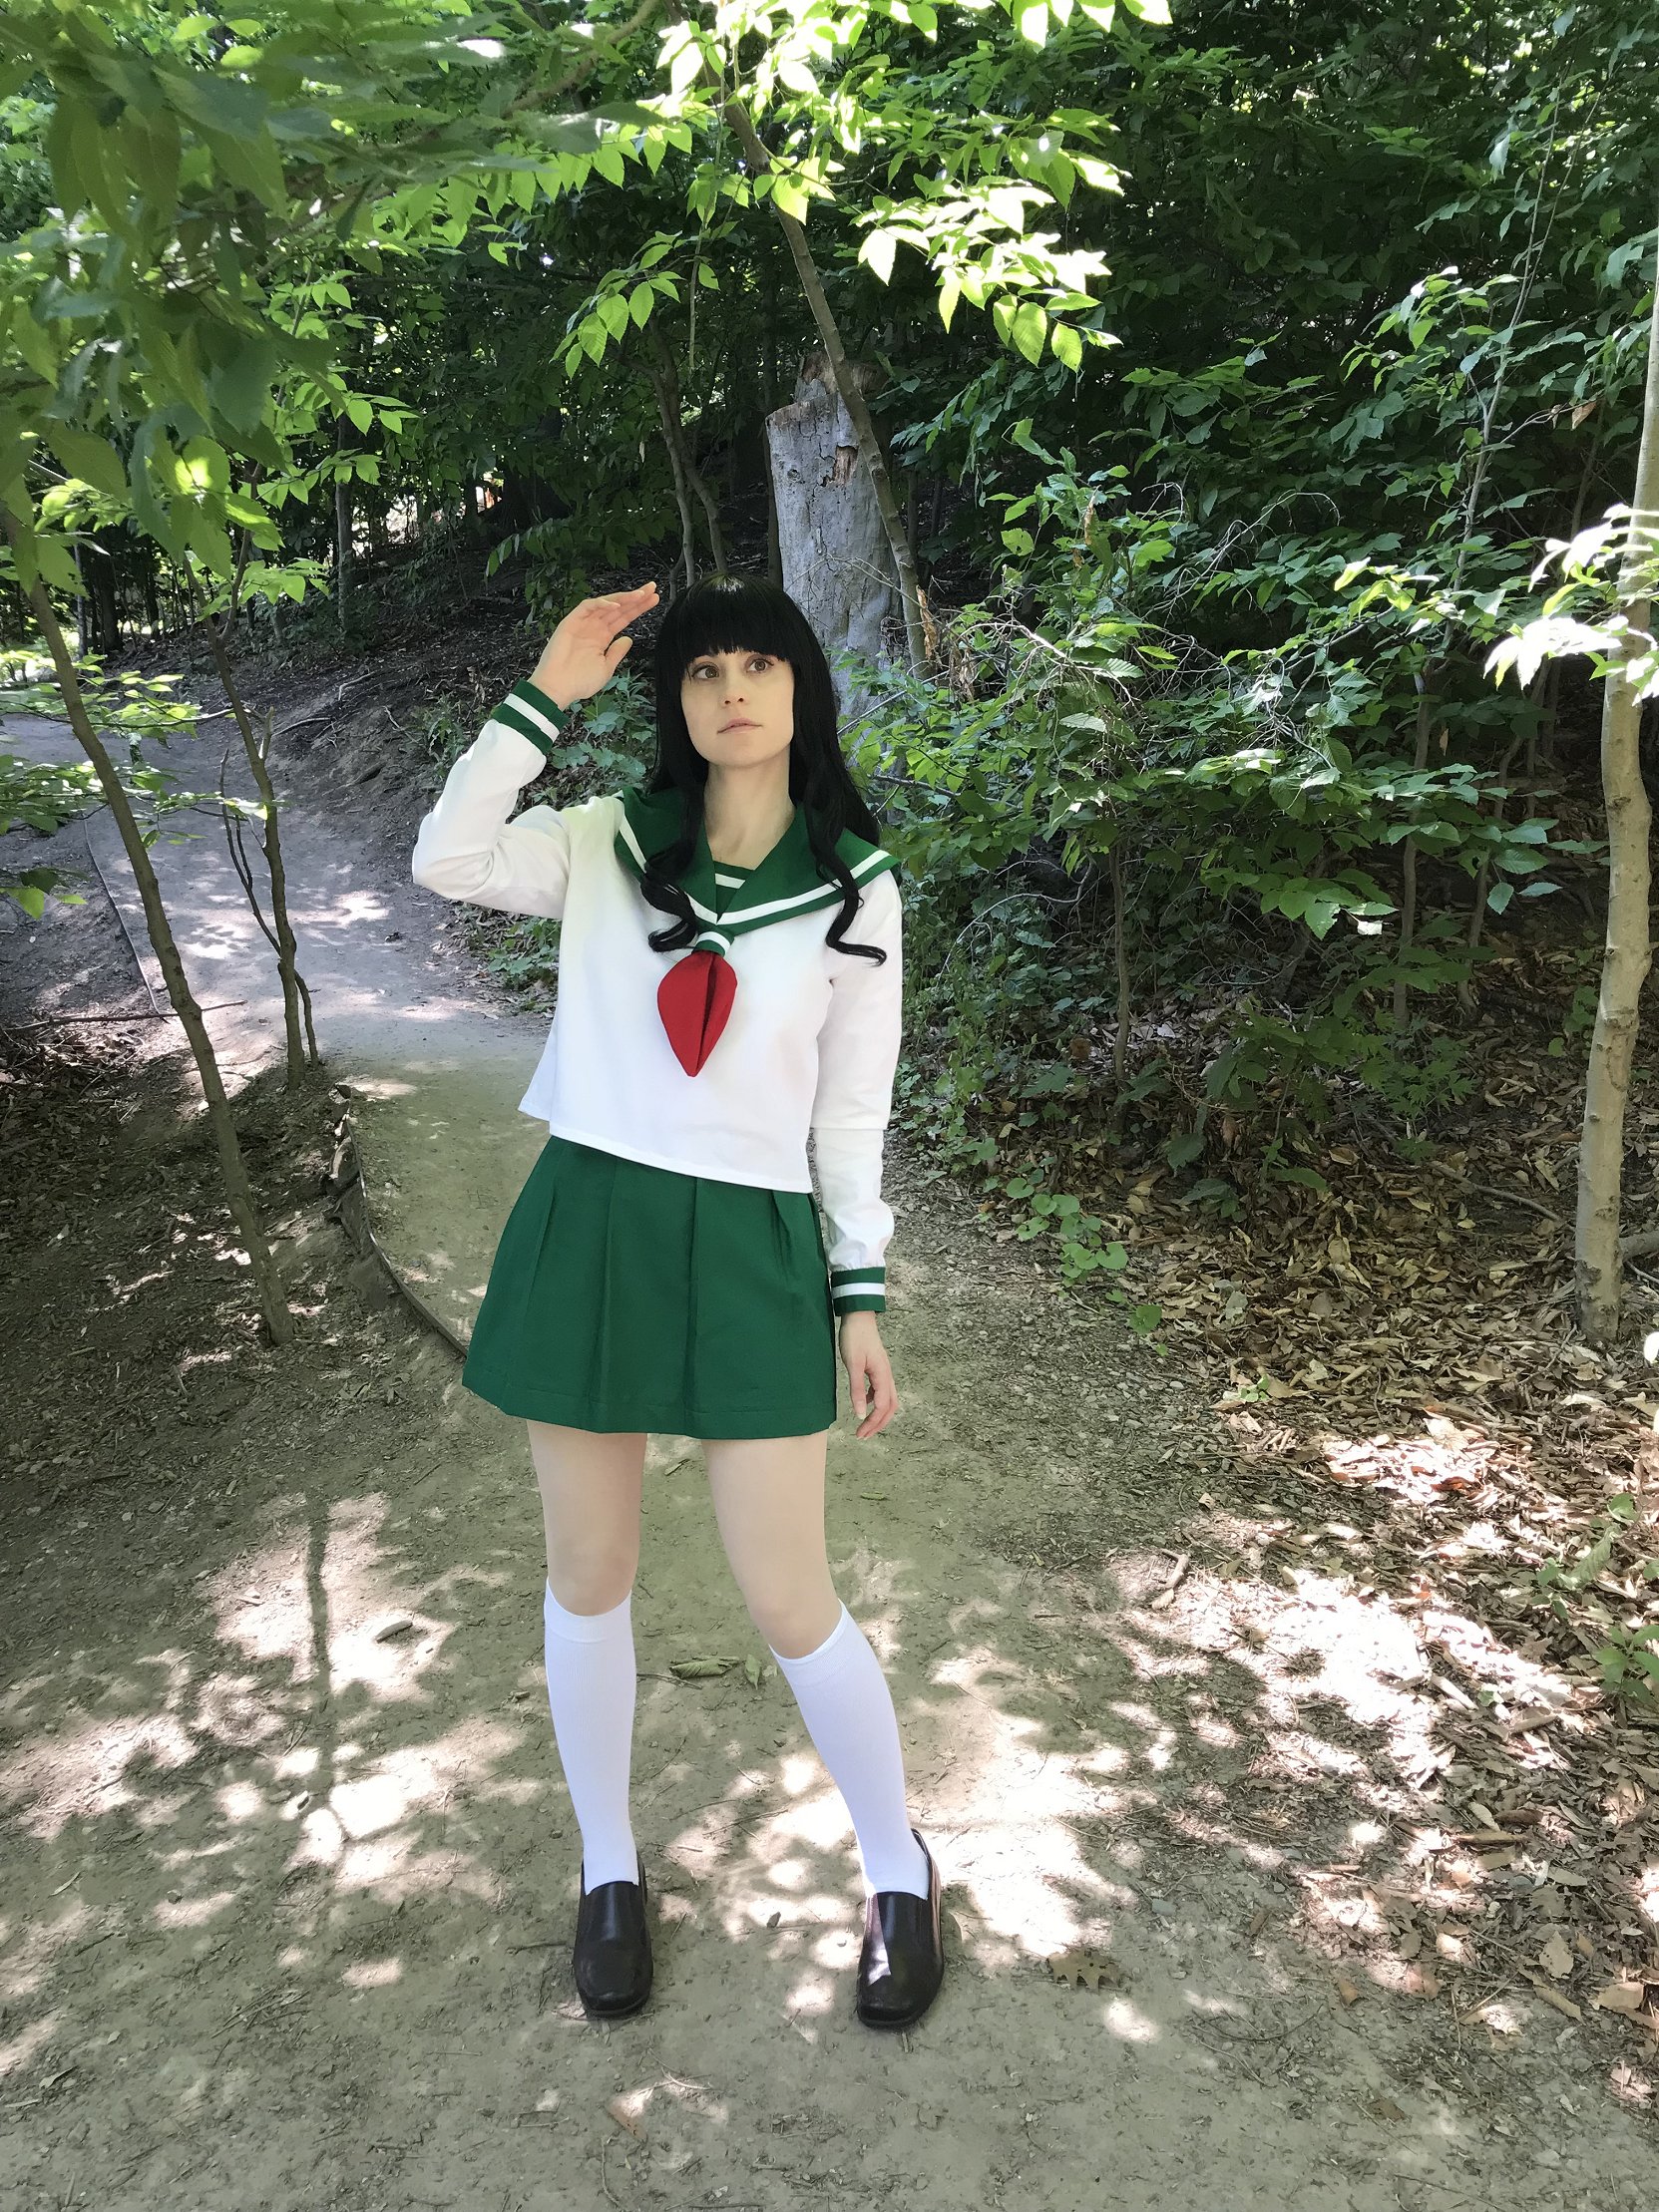
After the event, I decided that I needed to fix the waistband of the skirt. I got a new zipper and I repositioned the zipper so I could add a snap closure just above it and that way the skirt would fit better. I also got together with Pan during the winter to cut my Arda wig so my struggles with the wig were finally over. The new wig is curly and looked quite pretty for the character.
I bought a toy bow and arrow kit from an eBay seller in the summer of 2017. It was a pretty simple wooden kit. I visited Adrien on October 1st and he helped me assemble it. We actually put it together backwards because the shape looked more like Kagome's bow that way. I sanded down the pieces and then painted the whole thing deep red. Adrien suggested that I buy elastic cording for the string which I did from Fabricland. I used medical tape as the wrappings for the middle of the bow. I used an arrow from the kit as a base for Kagome's. I made "feathers" out of craft foam and I painted the tip silver. Not the greatest arrow, but it does the job.
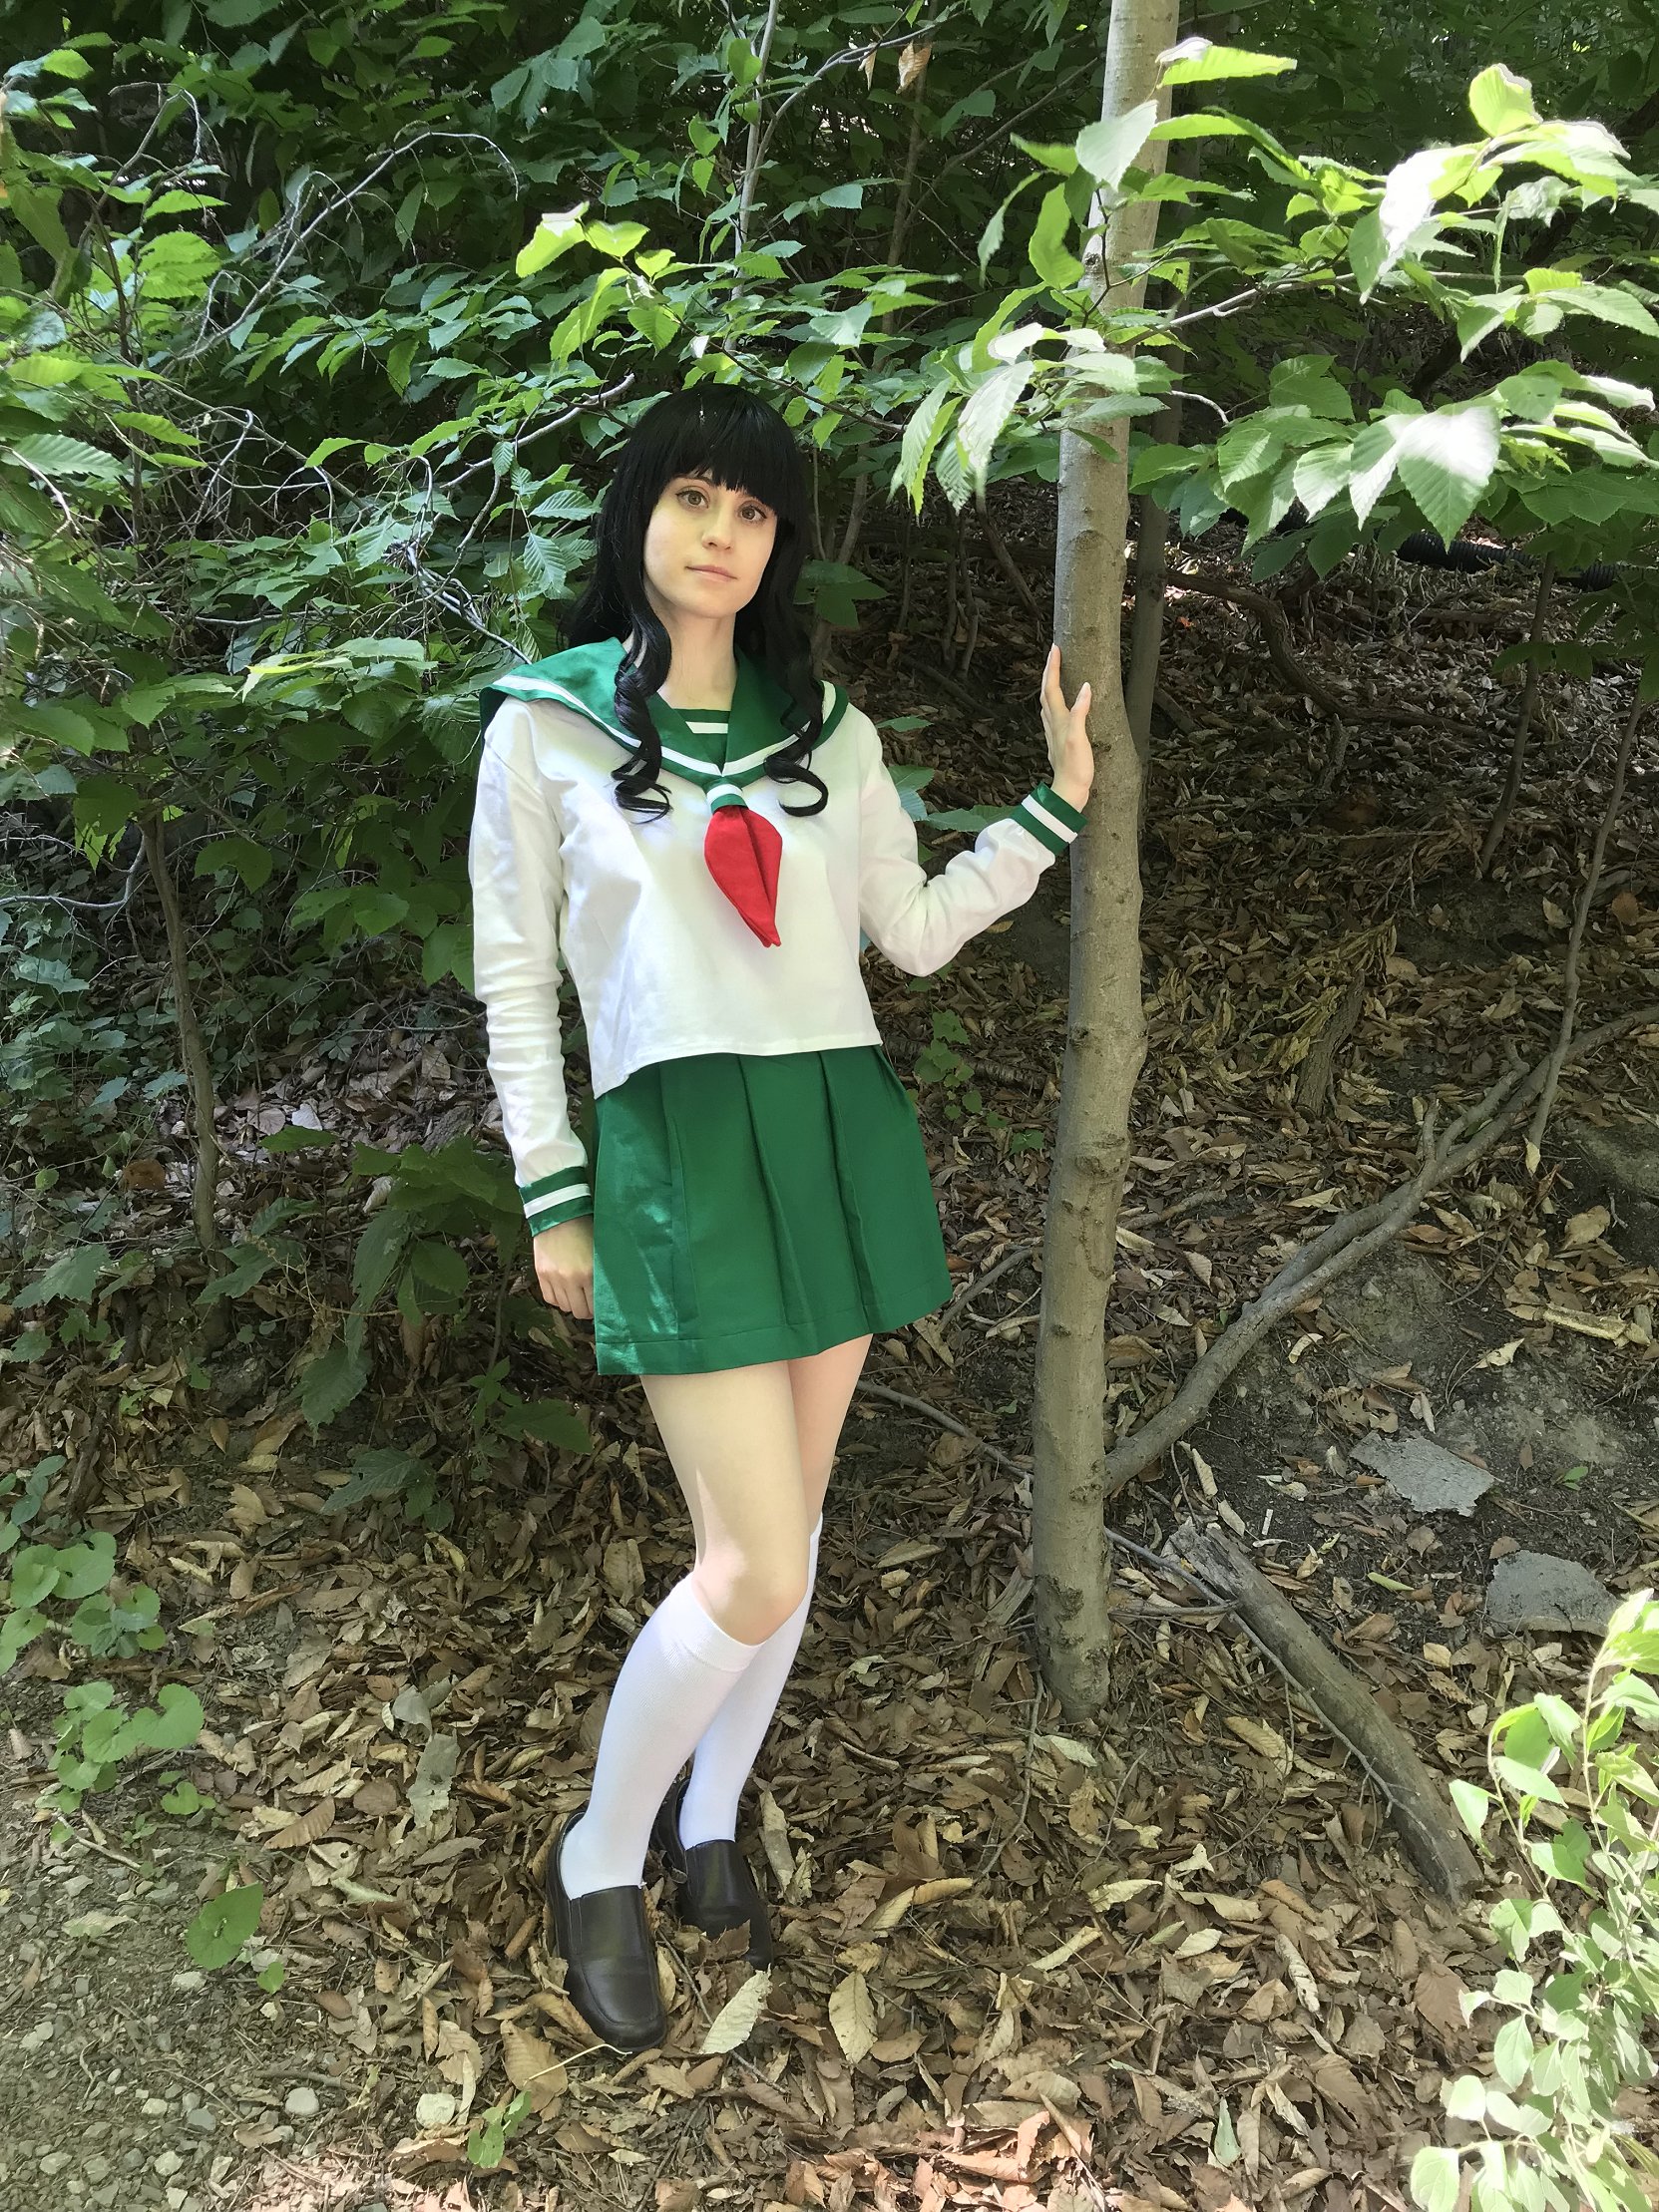
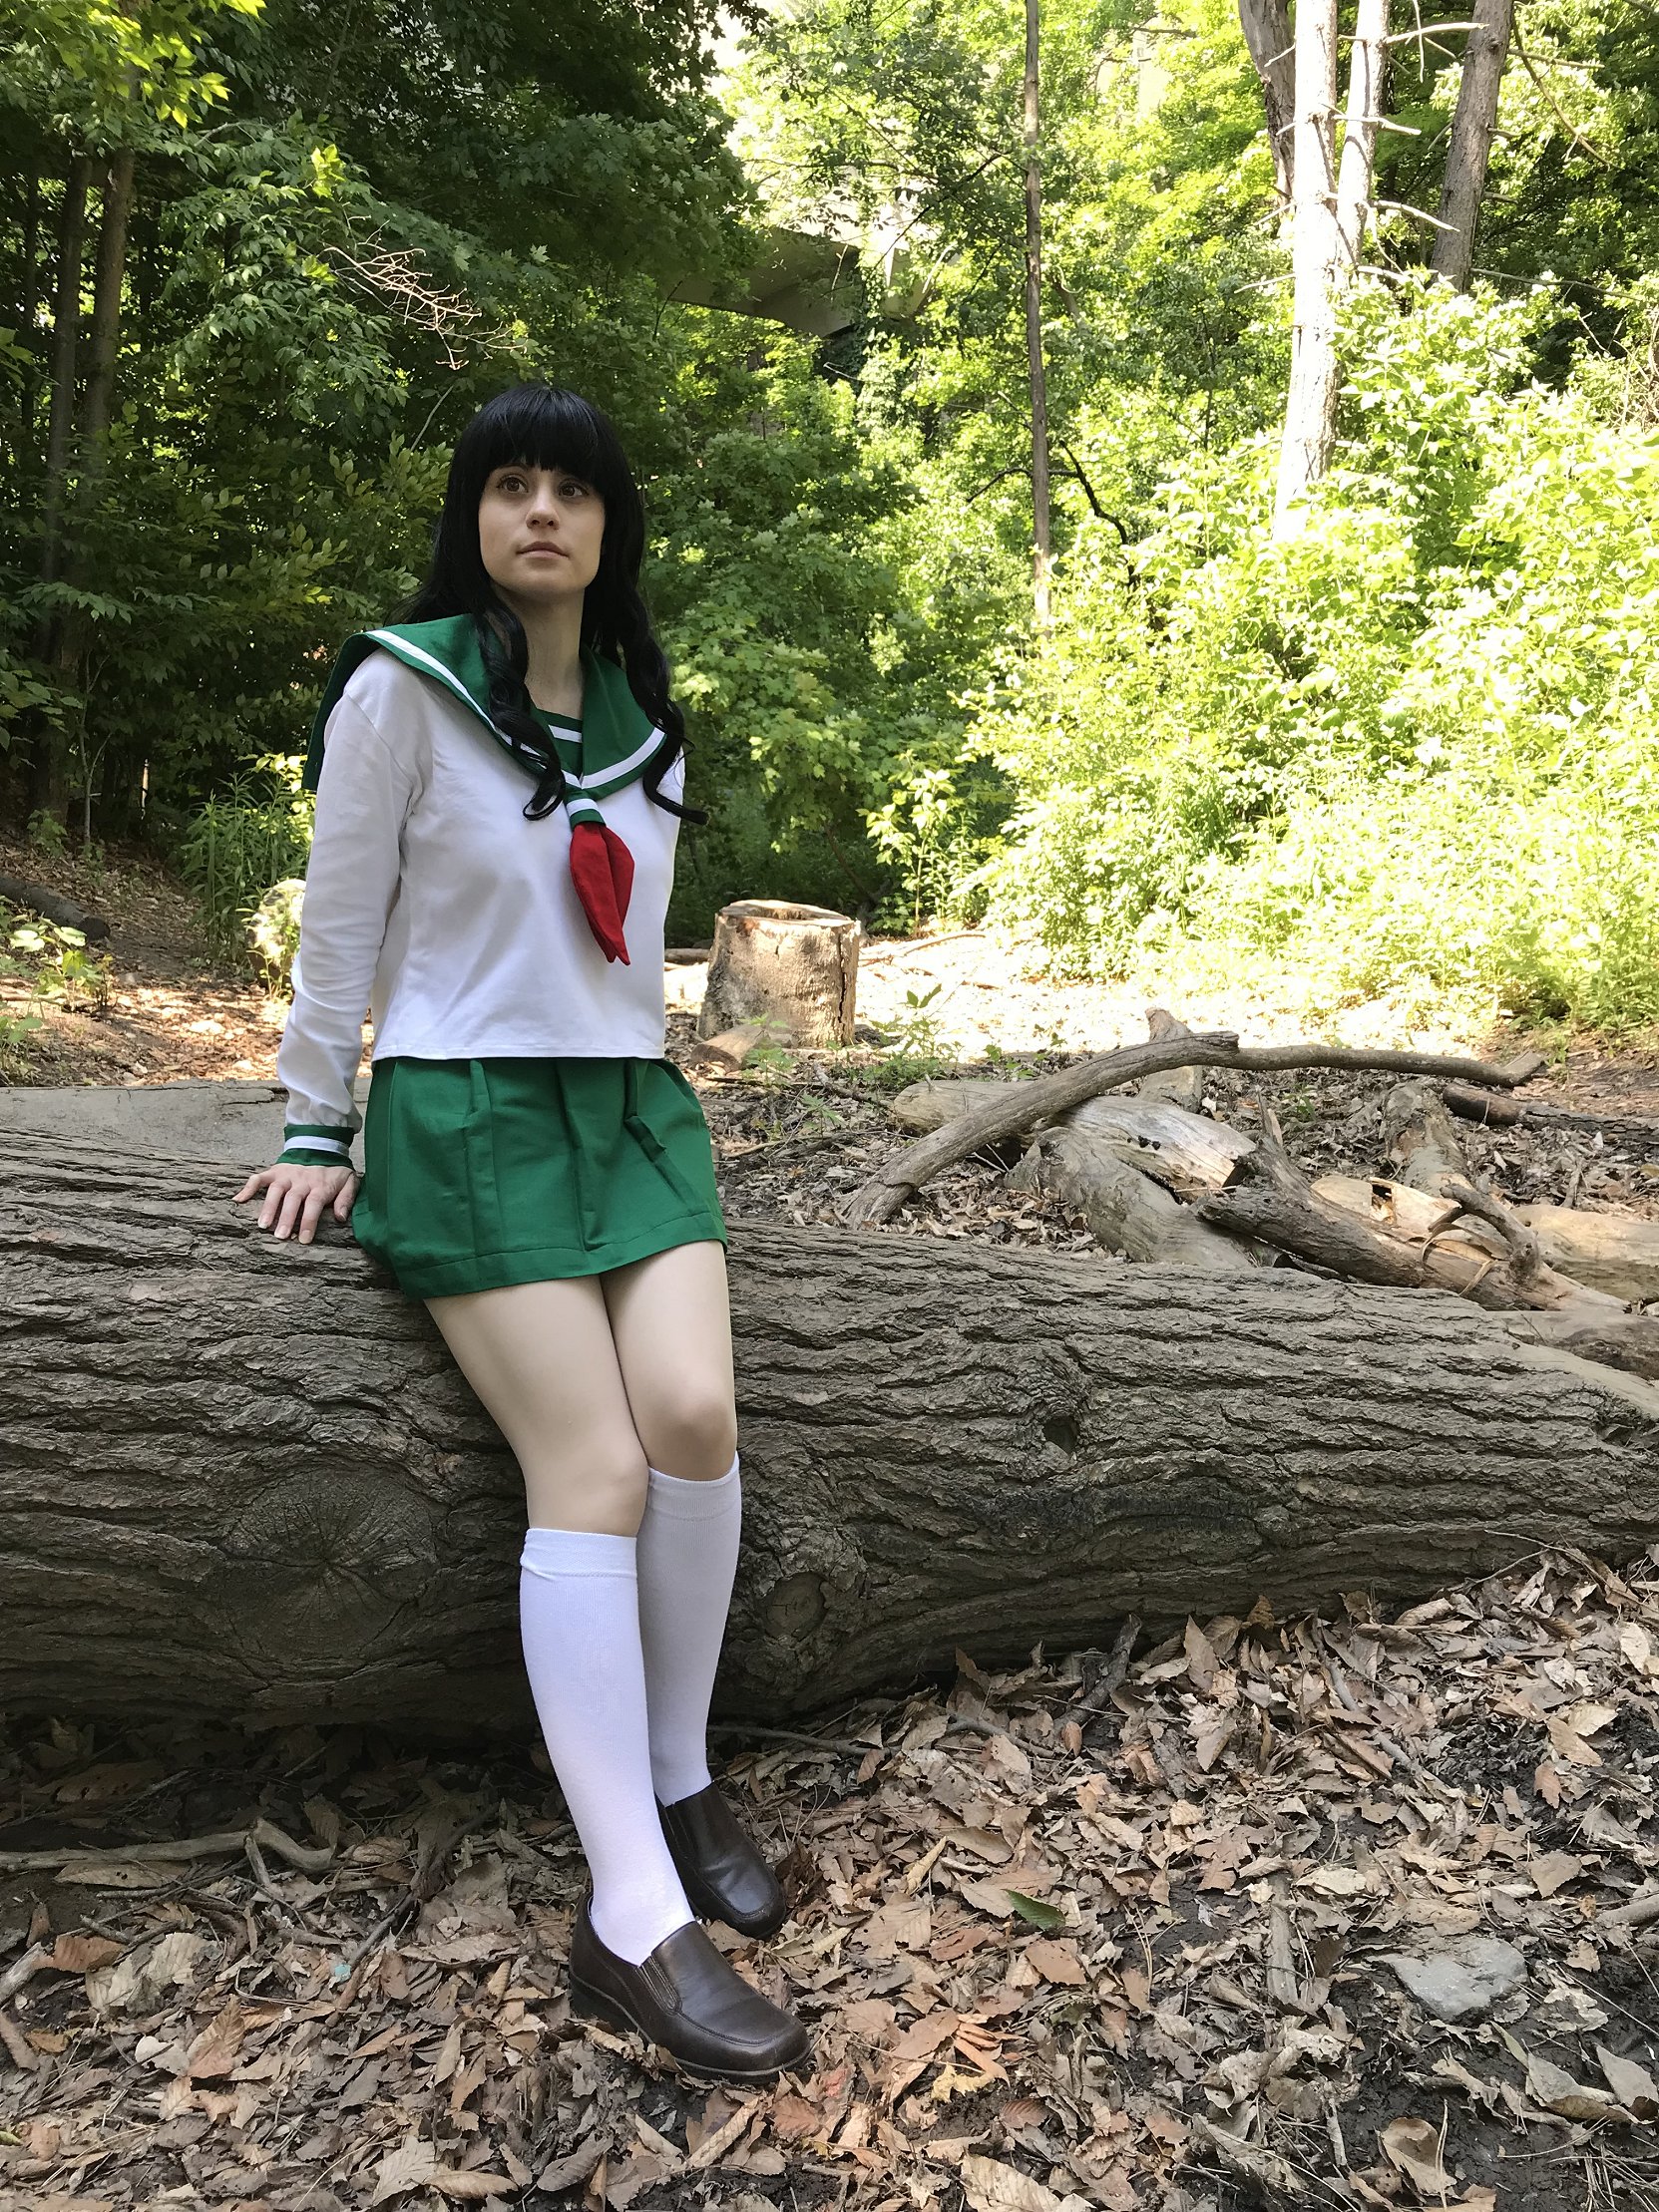
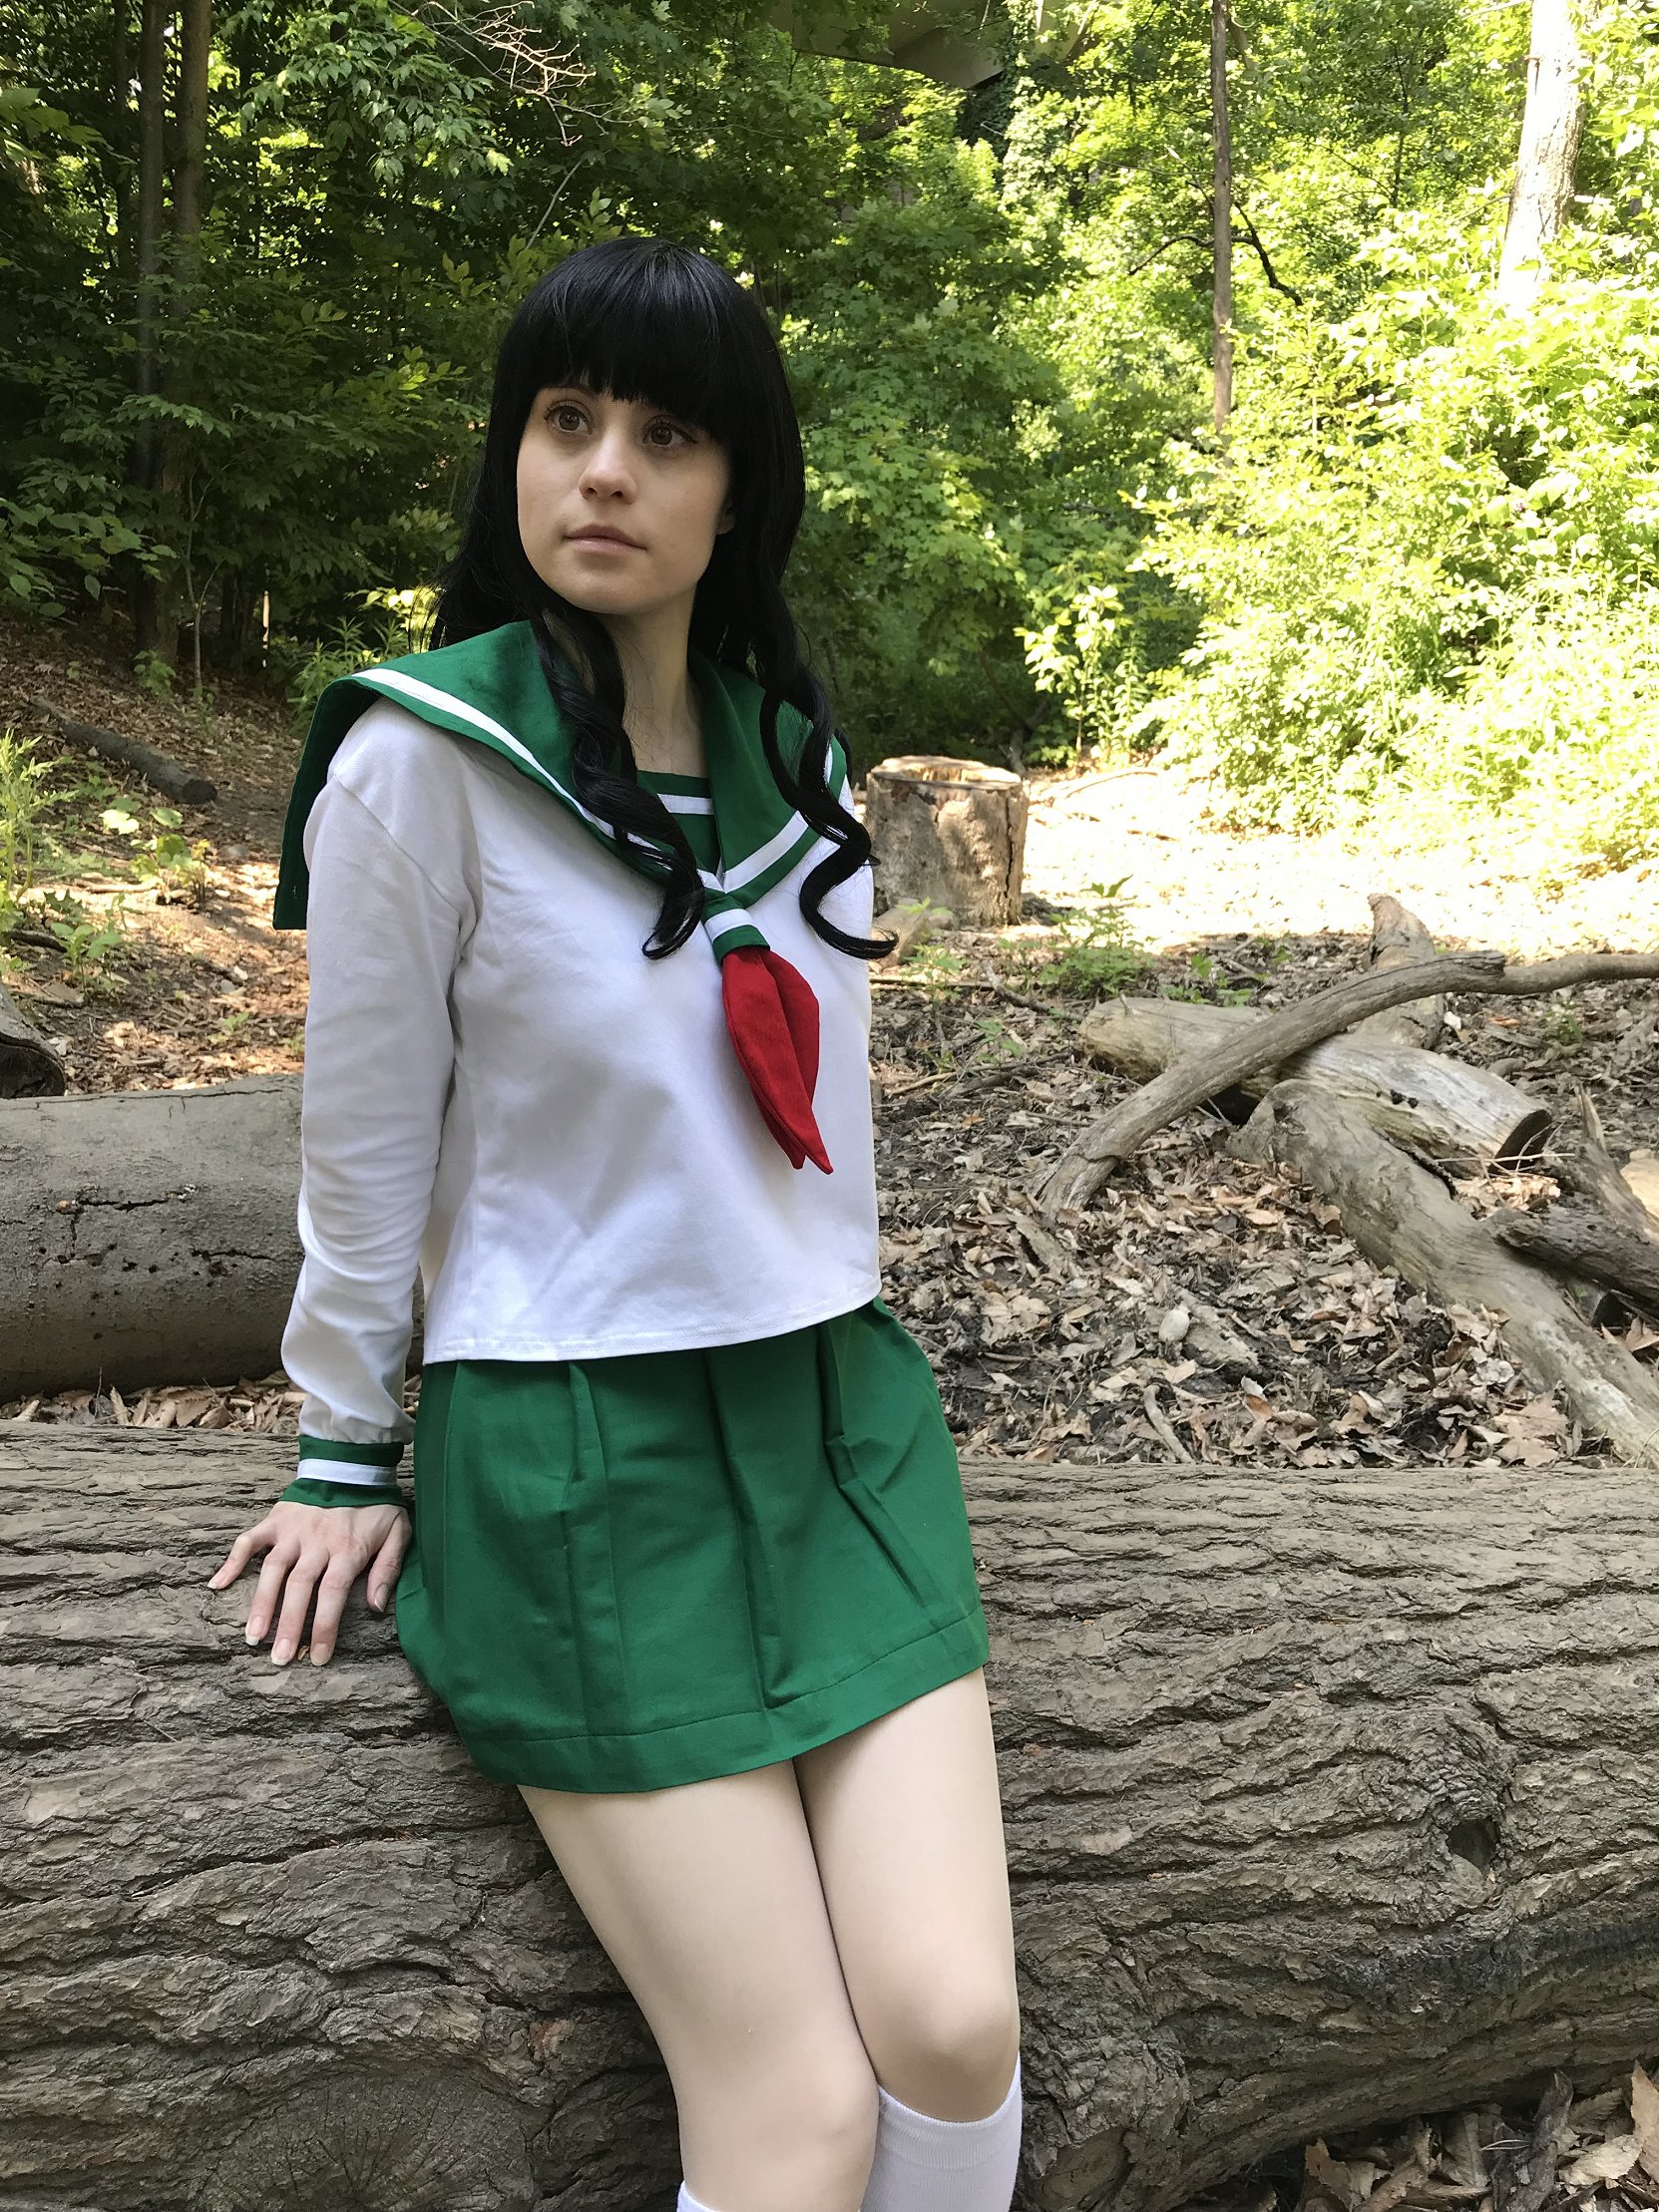
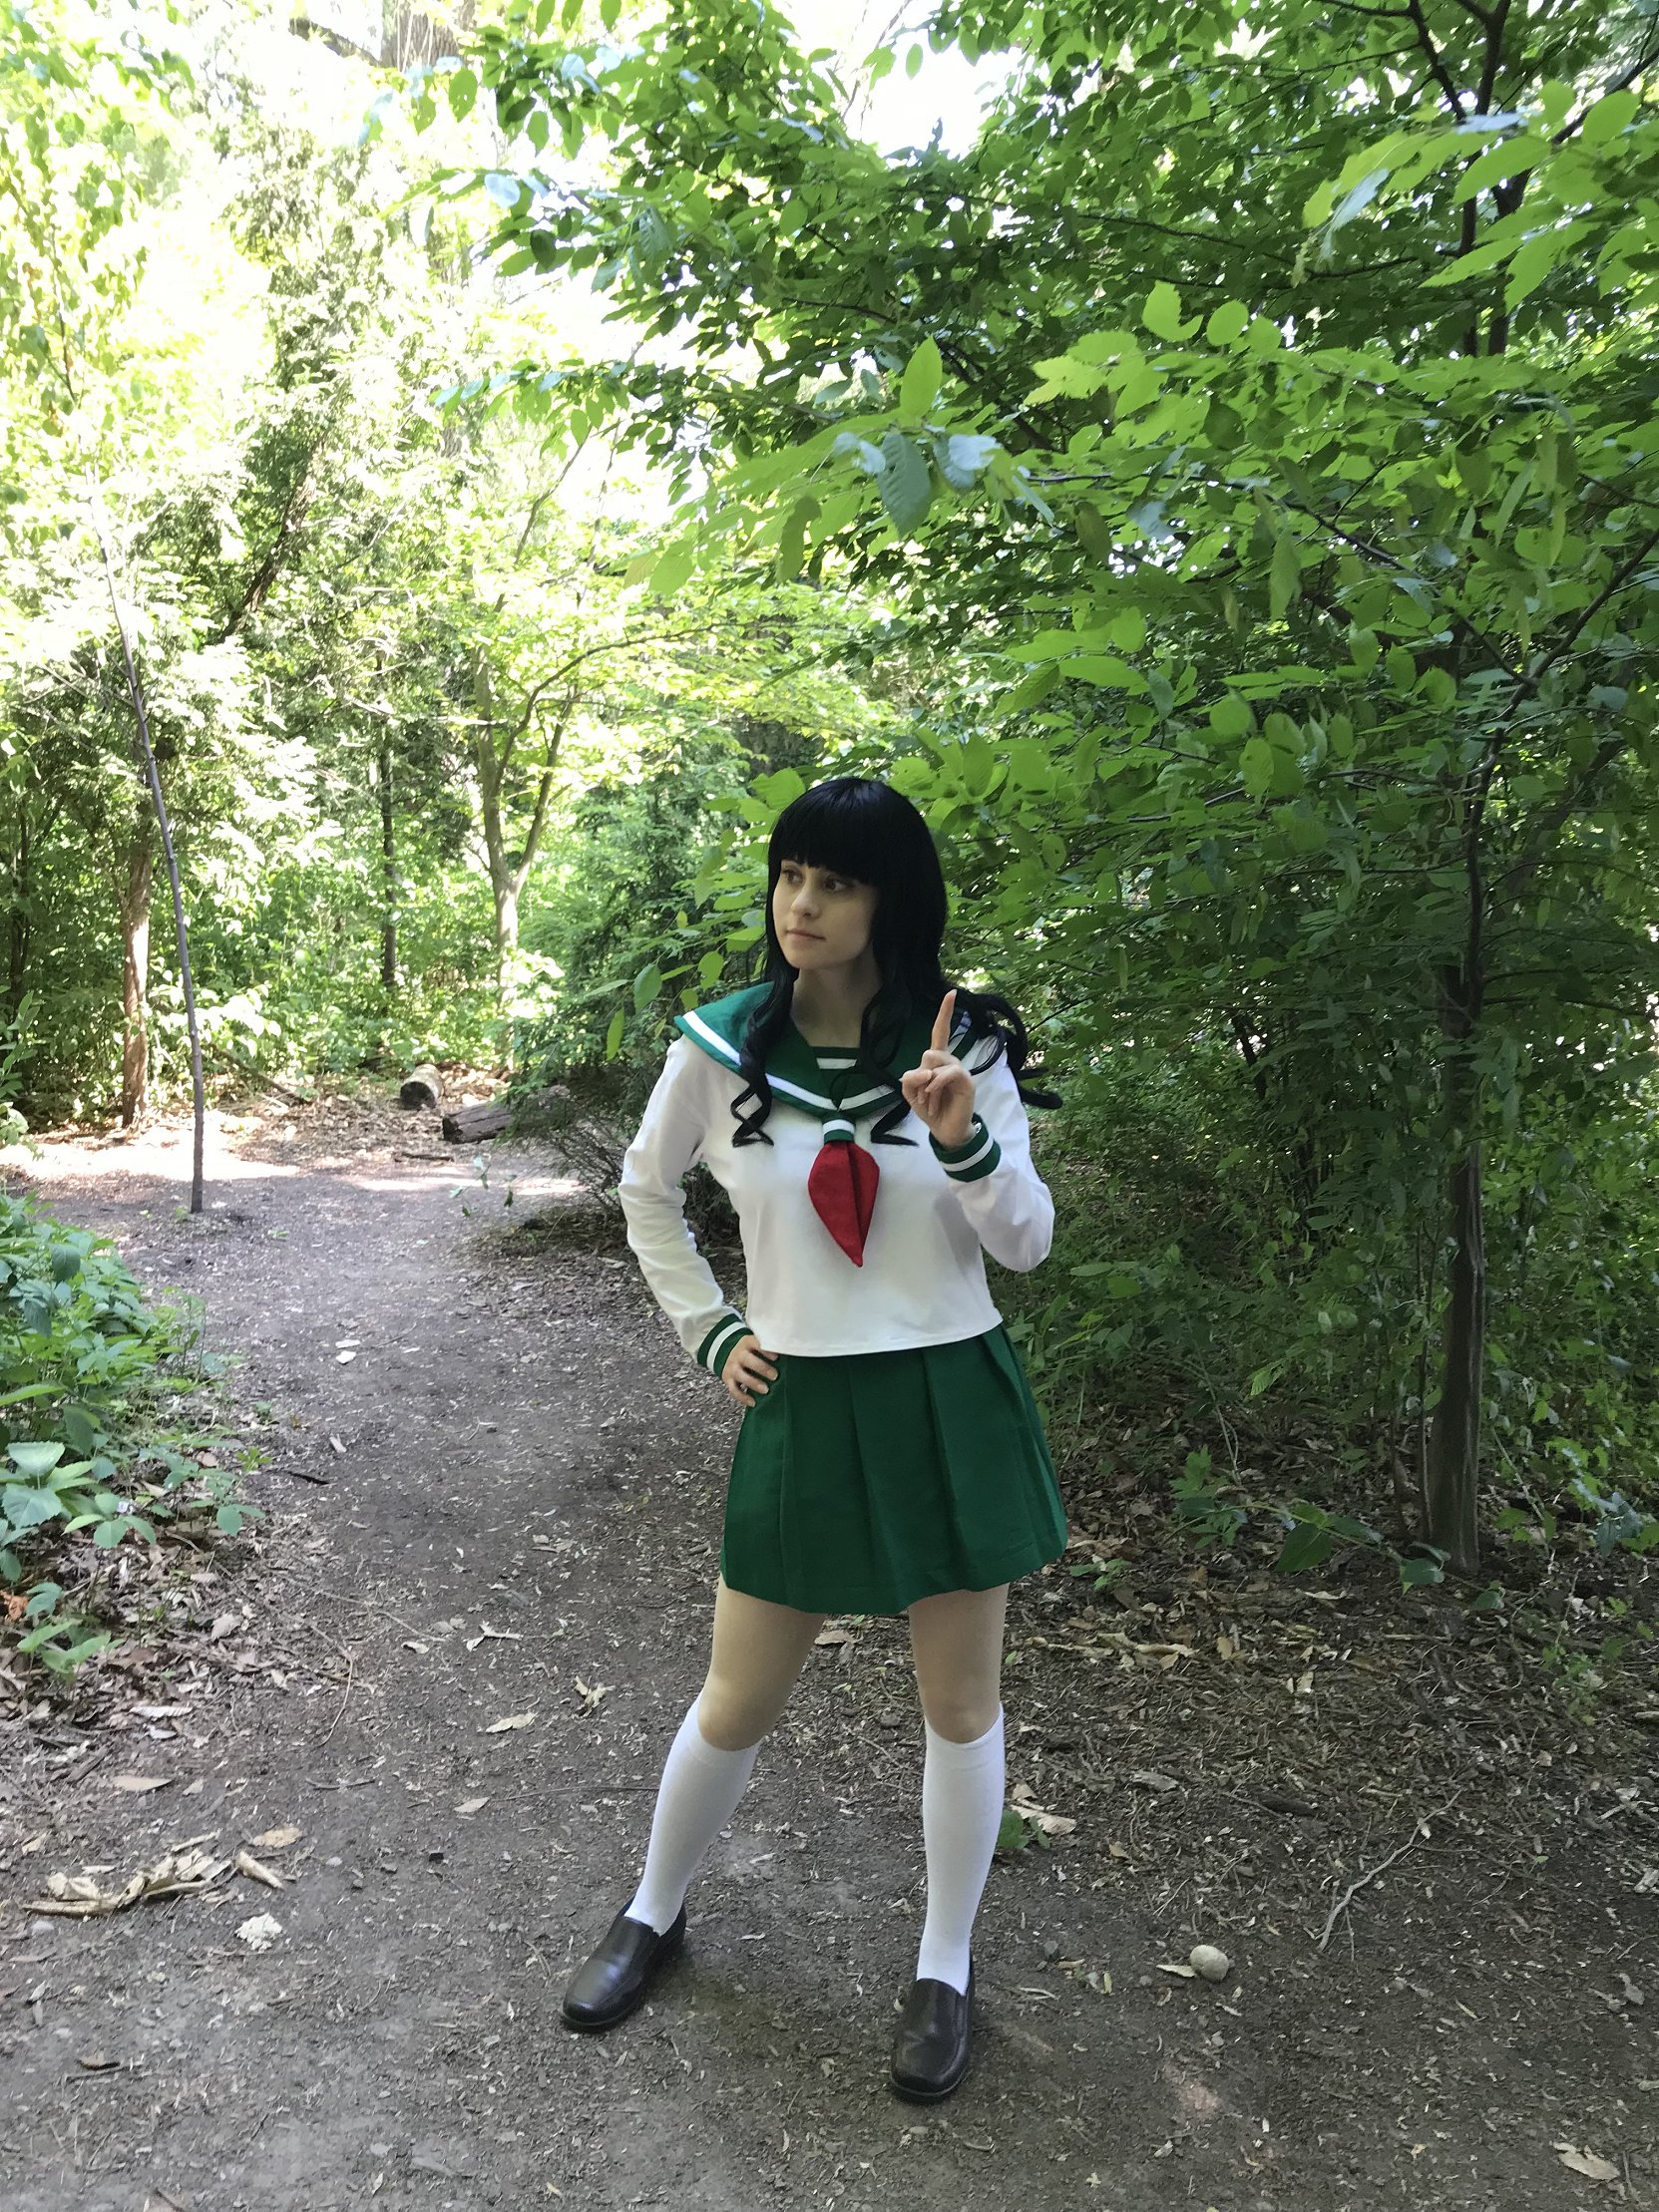
Re-making my Kagome costume was a bit of an offbeat decision. It seems a bit weird to backtrack instead of working on something new, but in a way it was very nostalgic and refreshing to redo one of my earliest costumes. I definitely see how much I've improved with sewing over the years. When my mother helped me with my original Kagome costume I could barely use a sewing machine and the whole process seemed alien. Now I'm definitely not perfect, but if you give me time to sew I can hold my own. It feels nice to finish a project in this new era in my life now that I need to make my way without any guidance or moral support from my mom. At least I can carry on her memory by continuing to sew and use the skills that she taught me. I received quite a few compliments while wearing this costume at Anime North 2018. Every compliment meant a lot to me due to the history of this costume. I'm really happy that I stuck with it and finished it and that everything worked out in the end. I wore Kagome to Pretty Heroes 2018 and my awesome friend Pan took me into the forest area around the Science Centre where she took some pretty outdoor photos of me. It was a great setting for Inuyasha Cosplay and was a fun part of my Pretty Heroes convention experience. :3
Events/Conventions this costume was worn to
Anime North JCCC Halloween Festival 2017, Anime North 2018 (Sunday) & Pretty Heroes 2018 (Sunday)
Photo Credits
Pan
& Adrien
Back